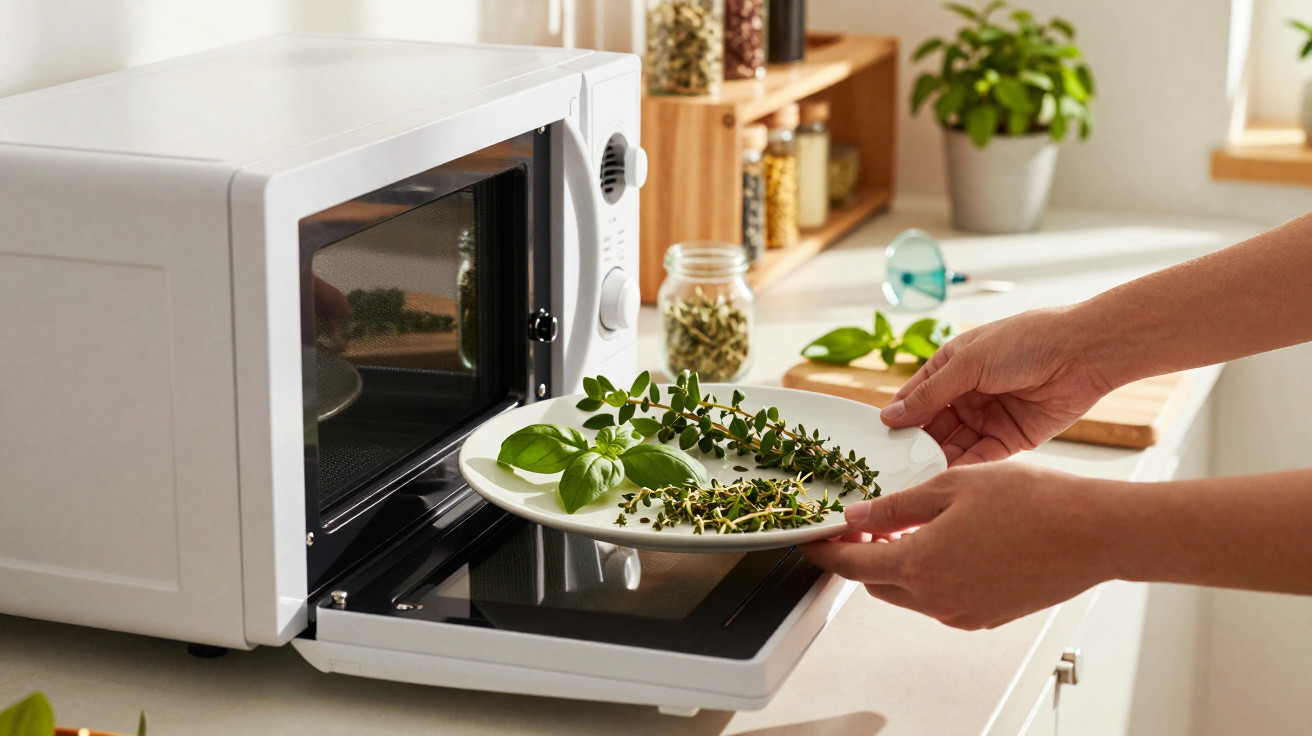
You want that vivid aroma later, rather than a bag of disappointment. We have all had the moment when we wished we had captured the garden while it was still at its best.
When I first dried herbs in the microwave, I stood over it like an anxious parent at the school gates. I used a plate, two pieces of kitchen paper and one layer of mint leaves. The appliance began humming softly, its light came on, and I searched for smoke as obsessively as a learner driver checks their mirrors. After twenty seconds, I stopped it and peeled back one corner. The mint had changed from glossy to matt, like a stage set beneath the auditorium lights. One more short burst, followed by a rest. It did not turn brown. It became crisp. I crushed a leaf between my fingertips, and it broke down into emerald-green dust. The kitchen carried the scent of a late June afternoon. It felt surprisingly… empowering. This is how to do it.
Why the microwave is the overlooked hero for drying herbs
A microwave activates water molecules from within, which is why small leafy ingredients dry so quickly - and why they can scorch when heated too aggressively. The key is to use low power in brief bursts. Water escapes gradually, while the colour and flavour remain. The result is a jar of herbs you will genuinely reach for, rather than a dreary, hay-smelling substitute.
In a 900–1000W microwave, a small handful of parsley can dry in around 90 seconds overall, split into 20–30 second sessions with pauses in between. A 700–800W microwave may need nearer 2–3 minutes. Realistically, no one is likely to do this every day. Yet whenever you do, the reward is substantial: a scattering over eggs, a speedy marinade, or a midweek soup that suddenly tastes deliberately made.
Consider what you are retaining. Fresh herbs contain volatile oils that rise off during the first minute of heat. Intense heat drives them away, whereas careful microwave drying holds on to more of their fragrant top notes. It is the difference between tasting “green” and tasting “garden”. Scorched edges indicate that aroma has been lost; an even, pale green colour means you have succeeded. This is certainly a quick method, but it also requires patience in 20-second intervals.
The step-by-step microwave method that prevents burning
Begin with leaves that are clean and completely dry. Blot them with kitchen paper once, then repeat. Remove sturdy stems from basil, mint and parsley. You can leave thyme and rosemary on their sprigs if preferred, then strip away the dried leaves afterwards. Line a microwave-safe plate with kitchen paper, arrange the leaves in one spaced-out layer, then cover them with a second sheet. Set the microwave to 20–40% power, around the “defrost” setting. Heat for 20–30 seconds, then leave them to rest for 30 seconds. Continue until the leaves are only just brittle. This is the microwave’s understated strength.
That pause is your greatest advantage. It allows steam to escape and the temperature to even out, preventing hot spots from scorching the edges. Should you spot browning, stop immediately and either lower the power or shorten the next bursts. Turn the plate if your microwave has no rotating turntable. Tender herbs such as basil darken rapidly, so work in small batches. Robust herbs including rosemary can cope with slightly longer heating, but they still perform best with brief cycles.
Low power, short bursts will always outperform one extended blast. Browning generally means the sugars have caramelised and the oils have cooked away, so ease off before the colour changes. Your target is leaves that crumble quietly while staying green.
“Dry to the edge of crisp, then let the carryover finish the job,” says a grower friend who dries thyme by the jar for winter roasts. “If it’s brown, it’s gone.”
- Soft herbs: basil, mint, parsley - 60–120 seconds total in 20–30s bursts.
- Woody herbs: thyme, rosemary, sage - 90–180 seconds total in 20–30s bursts.
- Watch the smell: if it turns to toast, you’re over the line.
Common mistakes, quick solutions and useful professional habits
Avoid overfilling the plate. Leaves that overlap hold in steam, creating sogginess that can quickly become scorching. Work in batches about the size of your palm. If the kitchen paper is damp after two rounds, replace it. That small change reduces the chance of steaming the following batch and produces a crisper, more evenly dried result.
There is no need for metal racks or specialist equipment. A simple plate, ordinary kitchen paper and low power are enough. If your microwave runs particularly hot, reduce it to 20% and add an extra cycle. Blackened basil means the heat was too high or the cycle was too long. Limp mint was not dry enough. Dull-tasting parsley was overcooked. Dry first, then dry again is the pattern: dry with a towel, then dry in the microwave.
Allow the herbs to cool completely before putting them away, otherwise condensation can cloud the jar. Add a label and date, and store jars away from light and the hob. Only crush the leaves when cooking, as whole leaves retain their aroma more effectively. Stop at “just brittle” to preserve the colour as well.
“Think like a baker testing biscuits,” says a chef mate. “They firm up outside the oven. So do herbs.”
- Storage: airtight jar, cool and dark, 6–12 months flavour peak.
- Grind: rub between fingers at the pan, not in advance.
- Safety: stay nearby; paper can overheat if forgotten.
Why the method works and how to make it a kitchen routine
Air-drying has a certain romance, but British humidity makes it slow and temperamental. Ovens are an option, although their temperature can run high and cook off the oils. The microwave quietly does a laboratory-like job in minutes, particularly with small, fresh bunches on a Tuesday evening. You do not need a large harvest; you need a plate and five spare minutes.
Start with a small trial batch and get to know the character of your microwave. Check the wattage printed around the door frame. A 1000W model responds well to shorter cycles, while a 700W version needs another round. Once you know the timings for each herb, write them on a sticky note inside the cupboard. That is how the process becomes straightforward rather than performative. It is a habit that begins with leftovers and ends with ready-to-use flavour.
You may start keeping tender stems for stock, crumbling mint directly into yoghurt and cucumber, or working dried thyme into breadcrumbs for a fast coating. Properly dried herbs make weekday meals easier and save weekend cooking. There is no ceremony involved, only a short repeatable ritual that leaves your kitchen smelling full of promise. Give a jar to a neighbour and see their expression change.
| Key point | Detail | Benefit for the reader |
|---|---|---|
| Power setting | Use 20–40% in 20–30s bursts with rests | Prevents scorching, keeps colour and aroma |
| Preparation and layout | Bone-dry leaves, single layer, swap damp paper | Even drying and consistent texture |
| Finish and storage | Stop at “just brittle”, cool fully, airtight jar | Longer shelf life and fresher flavour |



Comments
No comments yet. Be the first to comment!
Leave a Comment