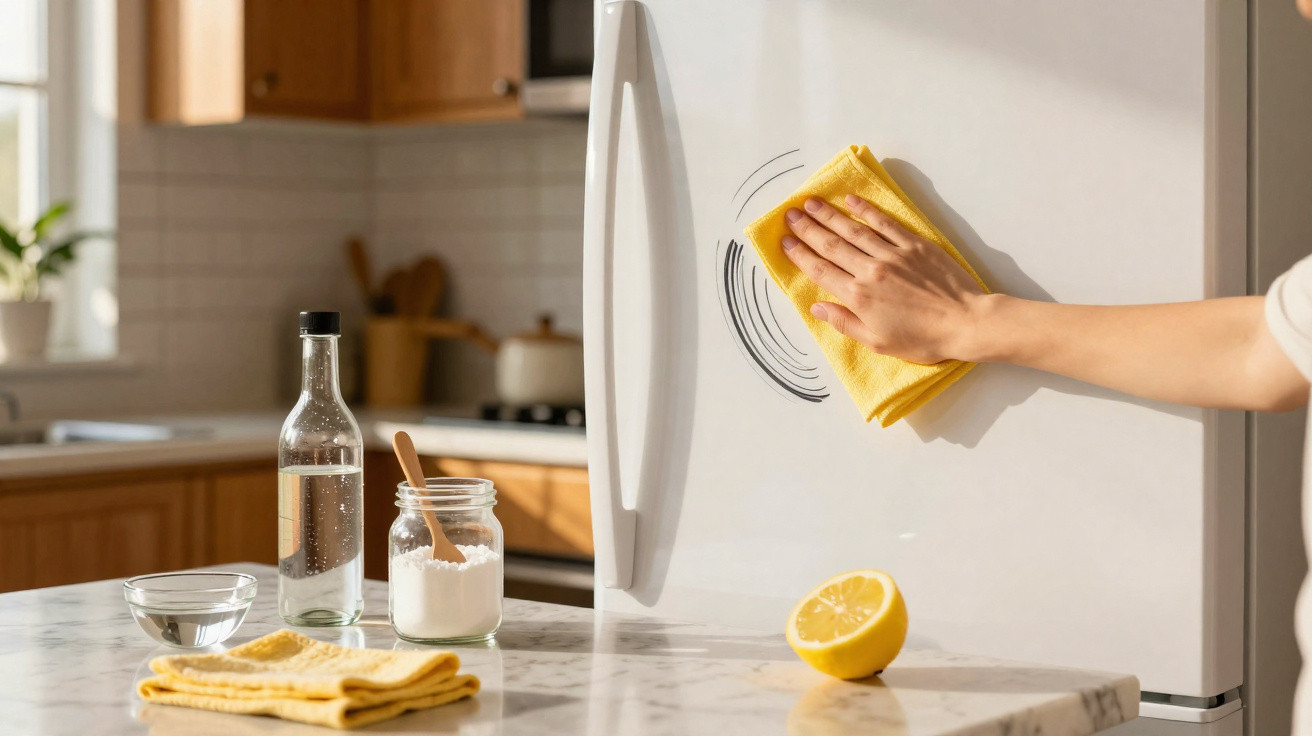
A black Sharpie cap skitters along the kitchen worktop while you take in the masterpiece your four-year-old has just put on the white cupboard door. The big, assured lines forming “MOMMY” in uneven lettering would be charming if they were not quite so… permanent. As you run a finger over the marker, your heart drops: will the whole kitchen need repainting, or must you simply accept this unplanned decoration? We have all faced that dreadful moment when permanent marker ends up somewhere it absolutely does not belong. Yet there is something the marker manufacturers would rather you did not know.
The Kitchen Chemistry Behind Permanent Marker Removal
Permanent markers rely on alcohol-based solvents to drive ink deep into a surface. Their supposedly “permanent” quality comes from resins and polymers, which cling to the material they land on. However, every chemical has a counterpart, and your kitchen is effectively a ready-made chemistry laboratory.
My neighbour Sarah found this out last month when her teenager chose to “customize” the bathroom mirror with song lyrics. After spending twenty minutes scrubbing with soap and water, she recalled the cleaning methods her grandmother used. With three kitchen ingredients, the mirror was restored to a like-new finish and she avoided a $200 replacement bill.
The key is the principle that like dissolves like. Permanent markers contain alcohols and oils, so they require solvents capable of breaking those substances down. Your kitchen cupboard contains at least five different products that can deal with permanent marker stains. Success depends on pairing the appropriate treatment with the particular surface.
Your Kitchen Arsenal Against Permanent Marker
Rubbing alcohol may not strictly be a kitchen essential, although hand sanitiser almost certainly is. Apply a generous amount to a clean cloth, then dab it onto the marker mark. Avoid frantic rubbing: steady, light pressure is more effective and reduces the risk of harming the surface below.
Using cooking oil may sound illogical, but it can be highly effective on plastic. Realistically, few people would expect olive oil to lift an ink stain. Nevertheless, oil disrupts the marker’s binding agents, allowing the ink to be wiped off more easily. Afterwards, wash away any oily residue with washing-up liquid.
“The best cleaning solutions are often the simplest ones sitting right under our noses. I’ve removed permanent marker from everything using basic kitchen items – it just takes knowing which one works where.”
Keep this kitchen cleaning toolkit in mind:
- White vinegar for glass and ceramic
- A baking soda paste for persistent fabric stains
- Vegetable oil for plastic and vinyl
- Hand sanitiser for quick touch-ups
- Whitening toothpaste for walls
Beyond Quick Fixes
Every material responds differently, so each requires its own approach. Wood calls for a delicate touch: begin with mayonnaise and move to stronger options only when necessary. Metal can withstand harsher products such as nail varnish remover, whereas fabric responds best to repeated, patient applications of baking soda. Glass, meanwhile, responds particularly well to white vinegar.
| Key point | Detail | Value for the reader |
|---|---|---|
| Surface-specific solutions | Individual materials require different kitchen ingredients | Avoids damage while delivering effective removal |
| Gentle progression method | Begin with the mildest treatment and increase strength gradually | Saves time and safeguards valuable surfaces |
| Common kitchen availability | Relies on products already found in most cupboards | Allows immediate action without a shopping trip |









Comments
No comments yet. Be the first to comment!
Leave a Comment