Home cooks are looking for speed, safety and cleaning results that stay effective for longer.
This straightforward routine avoids the familiar vinegar-and-baking-soda pairing. Instead, it uses a thick degreaser and more effective disinfecting contact times.
Why vinegar and baking soda fall short
Vinegar and baking soda can deal with minor messes, but they are not dependable disinfectants. Mixed together, they also neutralise one another, reducing the effectiveness of both. Stubborn polymerised grease requires surfactants and time to work; an acid or powder by itself will not remove that baked-on layer.
Vinegar may dull certain stone surfaces and aluminium, while baking soda can scratch glossy glass-ceramic. Both may leave behind residues that streak once heat is applied. A hob can therefore appear clean at first, only for smears to reappear when it warms up.
Cleaning removes soil. Disinfecting reduces germs after the surface is visibly clean and stays wet with a registered product for the full contact time.
The method that works now
The effective combination is straightforward: use a viscous, no-foam degreaser to break down oil, then follow with a surface-safe disinfectant for the correct contact time. European supermarkets commonly stock gel-style “no foam” degreasers that cling in place rather than run. Comparable products are sold in the U.S. and U.K. as “gel degreaser” or “heavy-duty kitchen degreaser.”
Choose a no-foam, viscous degreaser
A thick formula makes a difference. It remains on vertical edges, controls, and around the hob lip. Because it contains less water, it helps prevent watery drips and mineral spotting. Choose products labelled as suitable for stainless steel, enamel and glass-ceramic. Steer clear of products marked “foaming action.” While foam can lift dirt, it can also spread grime and make rinsing take longer.
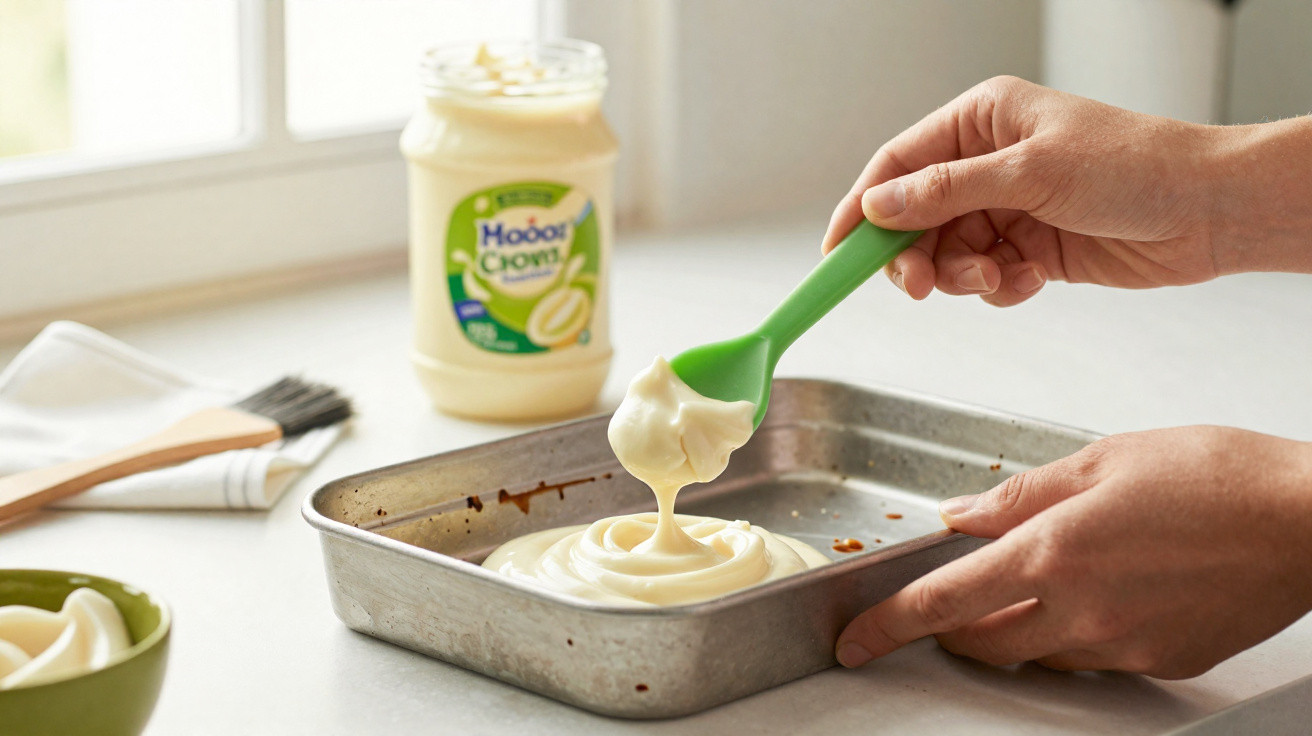
A gel-like degreaser clings to cooked-on oil, shortens scrubbing, and reduces streaks on shiny surfaces.
Pair it with a real disinfectant
Remove grease before tackling germs. Select a kitchen-safe disinfectant with a clearly stated contact time. Suitable options include diluted household bleach, hydrogen peroxide disinfectant sprays and quaternary ammonium wipes. “Splash-less” bleach may not disinfect unless this is stated on the label, so check its claims. Keep the surface wet for the complete number of minutes specified.
Your step-by-step routine
- Allow the hob to cool completely. Switch off the flame or power, and remove grates and knobs if the appliance manual permits it.
- Use a microfibre cloth to dry-wipe away crumbs. Removing loose debris first prevents it from smearing.
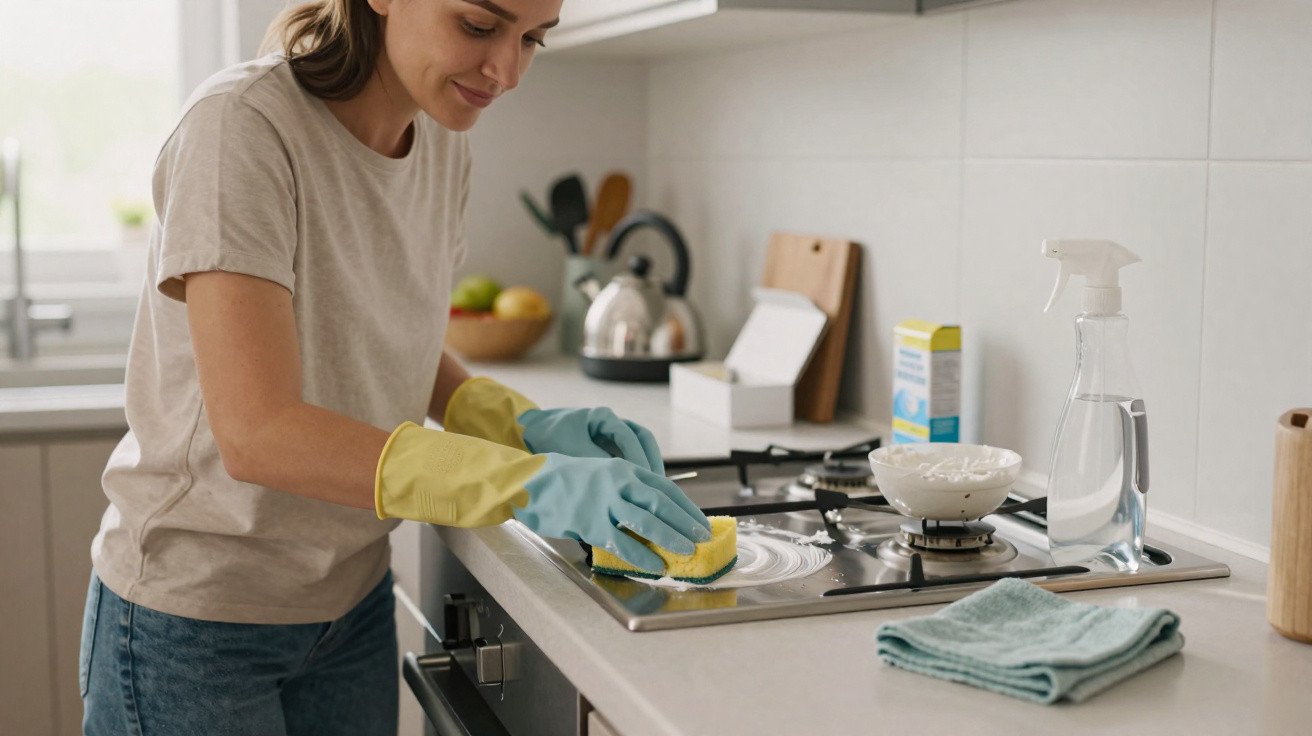
- Apply a thin coating of no-foam degreaser, concentrating on burner rings and the splash area.
- Leave it in place for 3 to 5 minutes. Do not allow it to dry; apply a little more if it begins to haze.
- Work the surface with a damp microfibre cloth. Wipe in straight lines rather than circles to limit streaking.
- Wipe again with clean water to rinse. Repeat once where buildup is heavy.
- Disinfect the surface. Spray a registered product and maintain a wet surface for its full contact time.
- Dry using a clean cloth. For stainless steel, buff with a drop of mineral oil to slow fresh smears.
Dwell time beats elbow grease. Let chemistry work, then lift the soil with minimal force.
Cooktop specifics
Glass-ceramic and induction
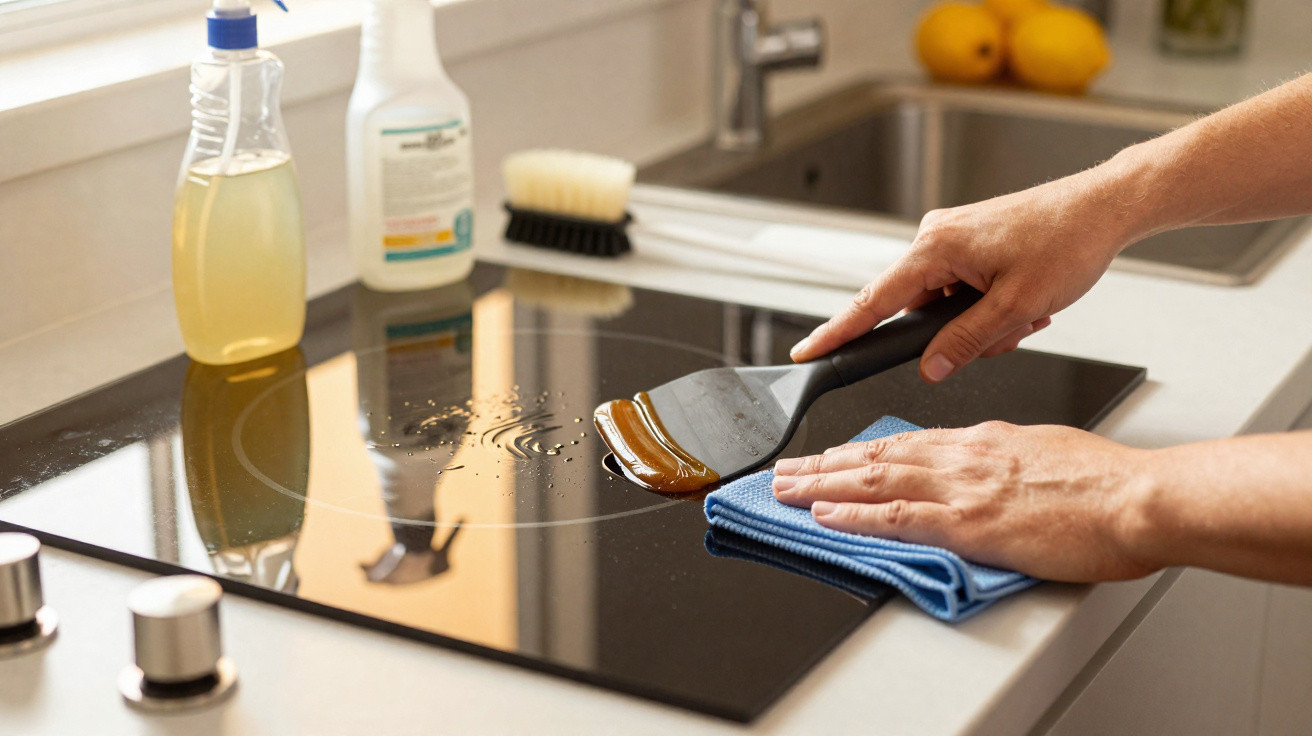
Avoid abrasive products. Use the gel degreaser with a soft cloth. For burnt-on sugar or starch, use a new razor scraper at a 45-degree angle, making short strokes away from yourself. Let it glide across the surface while the degreaser is sitting. Wipe clean and inspect under bright light.
Gas grates and burner caps
Place removable components in a basin of hot water and degreaser to soak. Ten to twenty minutes will often release carbon rings. Scrub them with a nylon brush. Unless raw cast iron is coated, do not put it in the dishwasher. Dry all parts thoroughly to prevent rust, then refit them securely to avoid yellow flames.
Stainless trim and knobs
Put degreaser onto a cloth rather than applying it straight onto electronics or seams. Wipe in the direction of the grain, and do not soak crevices. Test first on a small, inconspicuous section of plastic knobs.
Smart tools that speed up the job
A handful of inexpensive tools can reduce both effort and cleaning time. Use them selectively rather than reaching for everything at once.
| Tool | What it does | Risks | Best for |
|---|---|---|---|
| Microfibre cloths | Pick up oil and fine dirt without lint | Can retain odours unless washed hot | Daily wipe-downs, final buff |
| Gel degreaser (no-foam) | Stays on grease and cuts down scrubbing | Check the label for aluminium | Cooktop rings, splashbacks |
| Magic eraser | Uses micro-abrasion to remove scuffs | May dull glossy glass | Knobs, enamel edges, door handles |
| Splash-resistant bleach | Disinfects only if the label confirms it | Never mix with acids or ammonia | Sinks, worktops after degreasing |
Safety and surface risks
Do not ever combine bleach with ammonia, vinegar, acids or alcohol. Open a window, wear gloves and test any product on a hidden spot before treating the whole surface. Strong alkalis can discolour aluminium, while acids can react with marble and certain composites. If a fragrance stings your eyes, move away and improve ventilation.
Leave the heat switched off until every cleaner has been wiped away and the surface is dry. Leftover chemicals may bake onto glass or coils and produce smoke. Keep cleaning products away from food storage and beyond children’s reach.
A weekly rhythm that keeps grease from winning
Daily: give the hob a quick wipe once the final pan has cooled, taking no more than two minutes. Weekly: use gel degreaser with dwell time, then disinfect. Monthly: degrease extractor hood filters in hot water with washing-up liquid or a degreaser, then allow them to air-dry fully. This schedule stops the tough crust from developing that can otherwise take an hour to remove.
Costs, alternatives, and when to switch strategy
For most households, one bottle of gel degreaser will last several weeks. Expect to use it more quickly if you cook with oil every day. Enzyme-based formulas can also break down food soils while offering mild scents. Plant-based surfactant blends work well on light grease. Where layers are thick and baked on, a solvent-boosted kitchen degreaser acts faster.
When buildup returns within a few days, review two things. First, give products more time to sit before wiping them away. Second, limit heat splatter by using lids and splash guards. A modest adjustment at the hob can save cleaning time later.
What “no-foam” really means
No-foam products prioritise wetting agents instead of suds. With less foam, they make better contact with greasy films and rinse away more easily. Their thicker consistency holds active ingredients where they are needed, particularly beneath grates and along bevelled edges. This means using less product and less water.
Extra tips that help right away
- Keep two cloths available: one for greasy cleaning and one solely for drying. Change them when they become damp.
- For oven-door glass, spread on gel degreaser, cover it with a paper towel and leave it for eight minutes. Lift away the towel and wipe clean.
- On stainless steel, finish with a very small drop of food-grade mineral oil. It slows fingerprints and makes the next clean easier.
- If you cannot find a gel, add a few drops of water to regular washing-up liquid and apply it with a damp sponge. It will not disinfect, but it will quickly loosen fresh grease.
Skip the kitchen myths. Clean first with a clinging degreaser, then disinfect with correct contact time. That’s the repeatable win.








Comments
No comments yet. Be the first to comment!
Leave a Comment