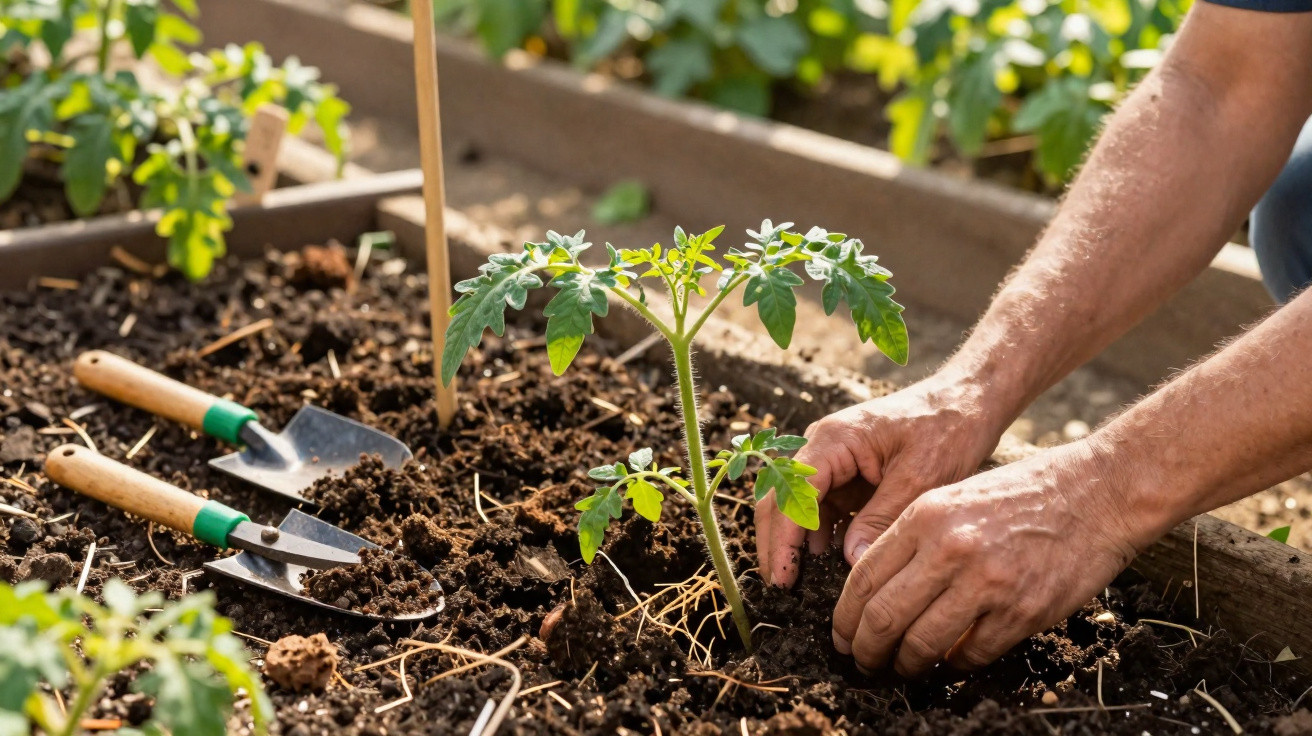
Many amateur gardeners still plant tomatoes dutifully upright in the soil – and miss out on enormous root potential.
Vegetable-growing professionals have long taken a different approach: they practically put young tomato plants to bed, laying them horizontally in a shallow trench. It may sound odd, but it produces a remarkably dense root system, tougher plants and more reliable harvests throughout the summer. Planting seedlings this way now lays the foundations for healthy tomatoes well into autumn.
Why planting tomatoes at an angle creates much stronger roots
Tomatoes have a minor design flaw – or, rather, a major advantage for gardeners. Any part of the stem covered with soil can form extra roots. Specialists call these adventitious roots.
When a tomato is planted upright, it roots only from the original root ball. If the stem is placed in a trench instead, the area of contact between the plant and the soil increases considerably. Fresh root shoots can emerge from every section of stem beneath the surface.
Rather than producing a compact root ball, the tomato develops a wide, branching root network that accesses water and nutrients across a much larger area.
This benefit becomes particularly valuable when summer weather turns hot and dry. Tomatoes with well-developed roots:
- cope for longer without watering,
- withstand periods of heat more effectively,
- absorb fertiliser more efficiently,
- recover more quickly after stress.
The plant also has a firmer footing. Wind, heavy rain and fruit-laden shoots are far less likely to make such a tomato plant topple or sway.
The L-shaped trench: how the professional technique works step by step
Vegetable growers rely on a straightforward yet carefully designed planting hole: a shallow trench with a short bend, forming an “L” shape in the ground.
1. Prepare the right trench
First, loosen the soil to the depth of a spade. Next, make a narrow trench around 10 to 15 centimetres deep. At one end, create a short section that slopes gently upwards; this is where the growing tip will eventually sit.
Place a handful of mature compost or another well-rotted organic fertiliser in the deepest part of the trench. This provides the young roots with an immediate nutrient reserve.
2. Remove leaves – but not too many
Strip away all lower leaves from roughly two thirds of the tomato stem. This entire section will be buried and should not retain leaves that could otherwise rot.
Leave several strong leaves on the top third. They supply the plant with energy and help the tomato resume growth quickly after planting.
3. Lay the plant down instead of standing it up
This is the unusual part: carefully place the stem in the trench so that it lies almost horizontally. Gently bend the tip upwards in the short L-shaped section, leaving only about 5 to 10 centimetres of the tomato plant above the surface.
Only the growing tip emerges from the soil; the rest works unseen: within a few days, the “power roots” begin to develop there.
Then backfill the trench with loose soil, press it down lightly with your hands and water thoroughly. The water washes fine soil particles against the stem, allowing it to root gently without air pockets.
4. Support it immediately – the tomato will straighten itself
Install a sturdy cane or spiral support as soon as you plant. Within a few days, the tomato will naturally grow vertically towards the light through phototropism. Secure the young shoot to the support with a loose tie so it cannot kink.
The best time to plant a tomato at an angle
In most regions, the ideal planting period falls between mid-April and mid-May. The deciding factor is the final overnight frost. Tomatoes are extremely sensitive to sub-zero temperatures, so if you are unsure, it is better to wait another one or two weeks.
If you would like to start early, protect your tomatoes initially with lightweight horticultural fleece or in a polytunnel. It is important that the plants have a few calm weeks after planting to build their root network before the first major spell of heat arrives.
The everyday benefits this method really delivers
The visible results soon become clear in the garden: after only a few weeks, plants are more firmly anchored, the foliage looks stronger and fewer flowers drop off.
- Less watering pressure: Deeper roots mean tomatoes need watering less often.
- A more stable plant: A broad root system helps prevent large plants from falling over after a thunderstorm.
- Healthier foliage: Combining mulching with good support keeps leaves drier and better ventilated.
- More reliable yields: Plants stay vigorous for longer, even in difficult summers.
Fungal diseases such as blight particularly benefit from damp, dense canopies of foliage. Training the plant upwards while keeping the lower area well ventilated noticeably reduces the risk. Angled planting fits this approach perfectly: the roots remain cool and moist below, while air can circulate above.
Common mistakes that undo the benefits
The technique only works properly when a few basic rules are followed.
- Never bury the graft union: On grafted tomatoes, the thick swelling above the roots must never be below the soil. The graft could rot.
- Avoid heavy, wet soils: In waterlogged ground, there is too little oxygen and the stem may rot before roots can form.
- Do not skip the supports: Once it begins to grow upright, the tomato needs a secure support or it may split or snap.
If you garden on very clay-heavy soil, mix in coarse sand, mature compost or composted bark before planting. This improves aeration and makes it easier for the plant to form new roots.
Does the technique also work in pots or on a balcony?
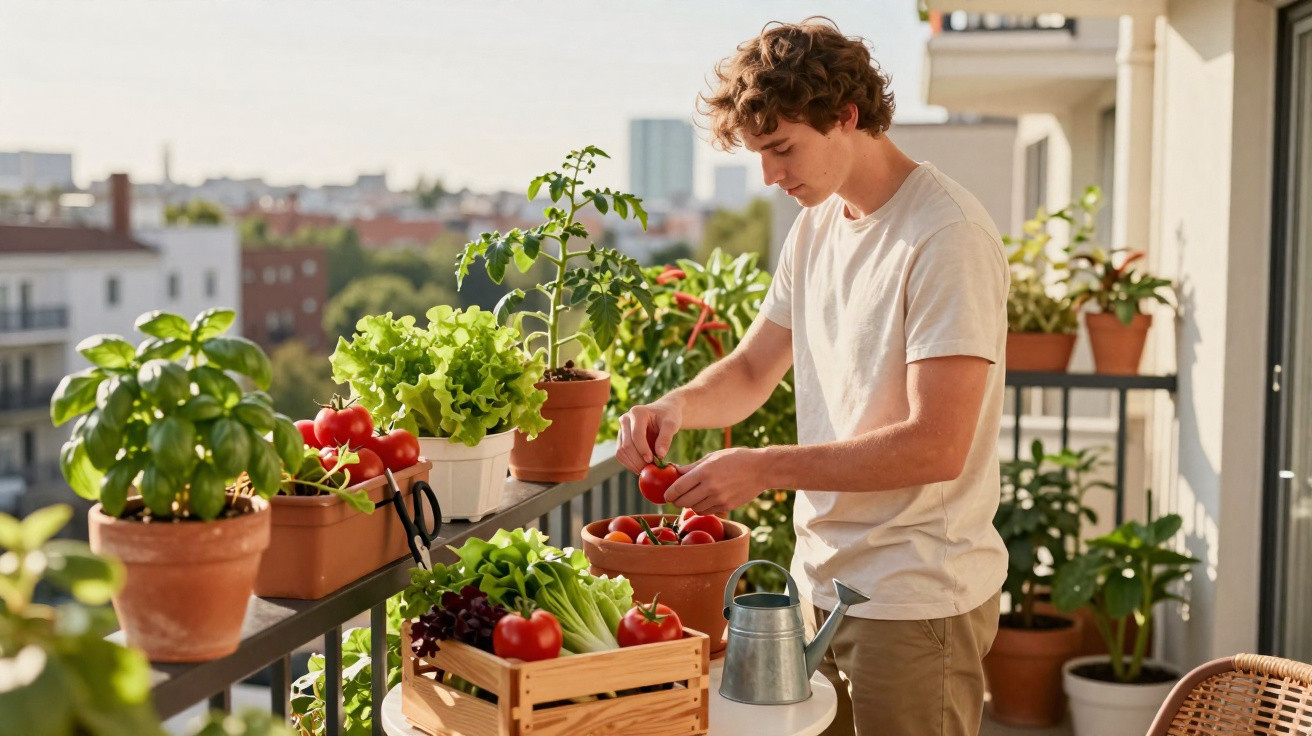
Yes, this method can also be used successfully in large containers or balcony planters, provided the container is sufficiently deep and wide. A volume of 30 litres or more and a depth of at least 30 centimetres are ideal.
How to do it in a pot:
- Prepare a large container with a drainage layer of expanded clay or gravel.
- Add nutrient-rich, loose compost and shape a shallow trench.
- Lay the tomato on its side as you would in a bed, with the tip angled slightly upwards.
- Cover with compost, water generously and insert a support cane.
The stronger root system is particularly worthwhile on a balcony: the plant does not dry out completely after every warm day and remains more stable in the windy conditions around high-rise buildings.
Practical extra tips for permanently strong tomatoes
The real care routine begins after planting. Following a few simple basics helps you get the most from this planting technique.
- Apply mulch: A layer of straw, dried grass clippings, leaves or wood chips keeps the soil cooler and retains moisture.
- Water with purpose: Water less frequently but deeply, so moisture penetrates well into the ground.
- Check the leaves: Gradually remove diseased or heavily shaded leaves to improve air circulation.
- Adjust feeding: Apply an organic tomato fertiliser every three to four weeks when plants are growing strongly.
If you wish, you can also strengthen tomatoes with homemade liquid feeds made from nettles or comfrey. These liquid fertilisers provide potassium and trace elements while encouraging root growth – an ideal match for the trench technique.
Why this technique is particularly timely now
Summers are becoming less predictable: brief periods of heavy rain are followed by longer dry spells. Shallow-rooted tomatoes quickly reach their limits in such years. Horizontal planting acts like insurance beneath the soil.
Because the root system becomes broader and deeper, plants are better able to cope with fluctuations in water availability. It is especially useful for anyone without an automatic irrigation hose or a water butt, gaining valuable days before tomatoes begin to wilt.
The method also proves its worth in an allotment garden visited only at weekends. Even if nobody waters during the week, the tomatoes can draw what they need from deeper layers of soil.
A small planting adjustment with a big effect
At its heart, there is just one change: rather than setting the tomato steeply downwards, plant it flat in the soil. The effort is minimal, yet the effect on root formation, stability and yield is considerable. Many people who have tried this technique in their own vegetable bed never want to plant tomatoes any other way again.














Comments
No comments yet. Be the first to comment!
Leave a Comment