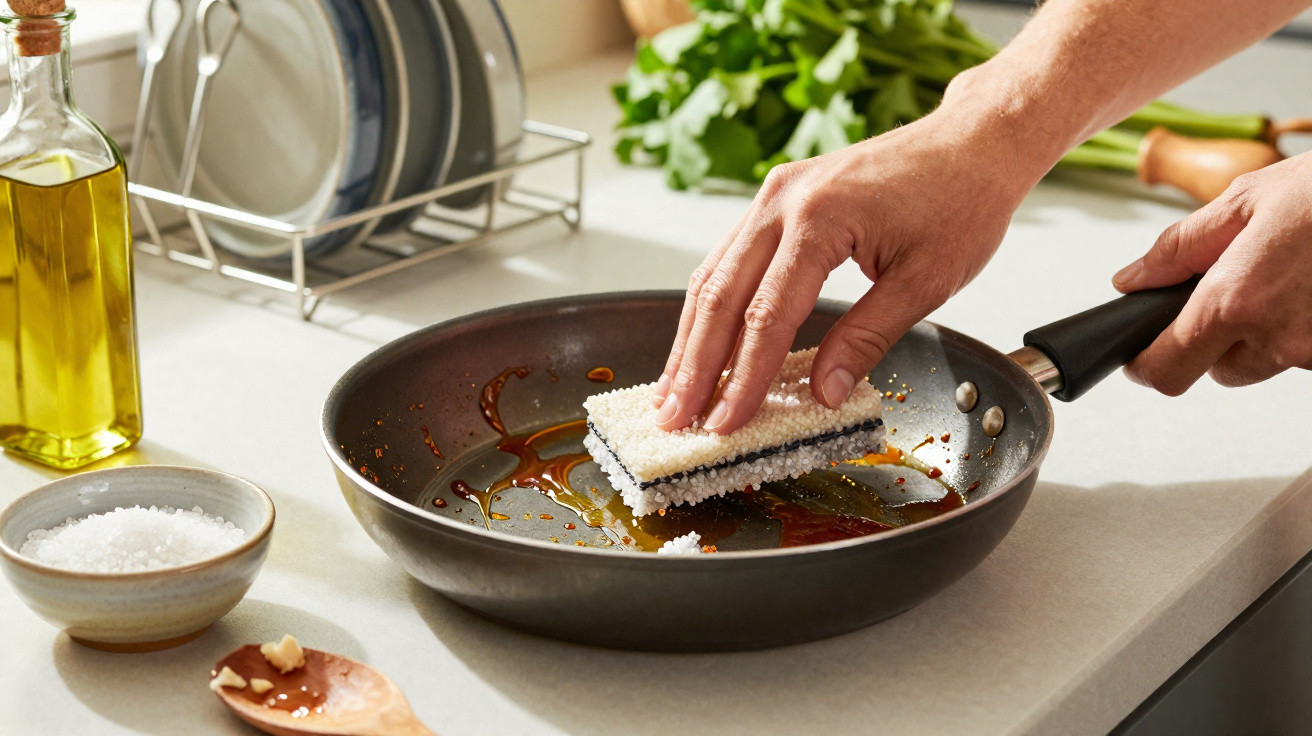
Greasy pans can resist every soak, scrub and miracle spray.
Yet one understated trick, sitting in plain sight, can make all the difference.
In kitchens across the country, people fight a daily battle with burnt-on fat and sticky deposits. More cleaning specialists are now recommending a surprisingly mild technique that tackles grease without aggressive chemicals or relentless scouring.
Why frying pans become so difficult to clean
Frying pans are exposed to high heat, fat and protein every day. Together, these turn ordinary cooking oil into a sticky, polymerised coating that adheres to metal like glue. Once this layer has hardened, standard washing-up liquid can struggle to remove it.
At high temperatures, oil molecules degrade, darken and bond with the pan’s surface. As the pan cools, the coating solidifies. It builds up in successive layers, particularly when a pan is never thoroughly cleaned. Eventually, the surface becomes rougher, more porous and much more challenging to wash.
The issue is made worse by damaged non-stick coatings. Metal spatulas, scourers and cooking on maximum heat can mark the finish. Those fine scratches collect grease, sauce and tiny food particles. Each fresh application of cooking oil then has another small gap in which to settle.
Once non-stick is scratched, grease stops sitting on top of the surface and starts living inside it. That’s when washing-up liquid alone rarely works.
There is a hygiene consideration too. Aged grease can retain bacteria, trap smells and slightly alter the taste of newly cooked food. Many home cooks find that eggs begin sticking, pancakes cook inconsistently or steaks brown less evenly when their pans are no longer properly clean.
Why vinegar and baking soda are no longer enough
For years, the usual “natural” cleaning solutions have involved vinegar and baking soda. They can work reasonably well on limescale, smells and light grime, but thick, baked-on fat is a different challenge. When faced with polymerised residue on regularly used pans, these familiar cupboard staples may be less effective or require lengthy soaking.
On certain surfaces, particularly delicate non-stick coatings, abrasive cleaning with baking soda can even speed up wear. As vinegar is acidic, it does not always affect the dense, plastic-like layer created by old cooking oil. As a result, many people combine several products, scrub more forcefully or simply give up.
That is why a different, seemingly counter-intuitive technique has attracted attention: using grease to tackle grease, with help from a common mineral already kept beside the hob.
The salt and olive oil method for greasy pans
The approach shared widely by cleaning enthusiasts uses just two everyday ingredients:
- Plain table salt, which provides gentle abrasion
- Olive oil, used sparingly as a degreasing agent
Here, salt acts as a fine scrub. Its crystals mechanically lift deposits, while remaining softer than metal and less harsh than many scouring powders. Olive oil serves a chemical purpose rather than a culinary one. Since “like dissolves like”, fresh oil can loosen and re-suspend old, sticky fat, allowing it to release from the pan.
Fresh oil works a bit like a solvent for old oil, softening that stubborn film so the salt can push it away.
For cooks who want to avoid strong chemicals and fumes, this pairing is a low-odour, low-toxicity option based on simple chemistry and physics rather than specialist cleaners.
Step-by-step: using salt and olive oil
1. Get the pan ready
Allow the pan to cool fully. Applying this method to a hot pan may burn the oil, increase the odour and make it unsafe to handle. When it is cold, remove loose crumbs and any excess liquid fat.
2. Spread salt across the surface
Scatter an even layer of table salt over the greasy section. Cover the whole base, including the edges where residue often collects. Use sufficient salt to create a light “bed” of crystals rather than leaving only a few scattered grains.
3. Use a little olive oil
Pour a fine drizzle of olive oil over the salted area. You only want to dampen the salt, not saturate it. Using too much oil creates a paste that is more difficult to rinse off.
Using a clean, non-abrasive sponge or soft brush, work the mixture over the pan in slow circular movements. The salt should glide over the surface rather than scrape aggressively. Keep the pressure moderate, especially with non-stick pans.
Think of it less as scrubbing and more as massaging the surface: the grains of salt do the lifting, the oil does the loosening.
4. Rinse under hot water
When the mixture becomes grey or dark, it has lifted grease from the surface. Rinse the pan beneath running hot water. The warmth melts the loosened fat and washes away the oil and salt.
Should stubborn areas remain, repeat the treatment only on those patches rather than redoing the entire pan. A second application will usually remove residue softened during the first pass but not completely lifted.
5. Wash as normal
Following the deep-cleaning stage, wash the pan once with ordinary washing-up liquid and a soft sponge. This clears any remaining oily coating and prepares the surface for the next time you cook.
| Step | What to do | Why it works |
|---|---|---|
| 1 | Cool and empty the pan | Prevents burns and stops fresh residue from baking on |
| 2 | Sprinkle salt over greasy areas | Forms a mild abrasive layer that lifts deposits |
| 3 | Add a thin drizzle of olive oil | Fresh oil softens and dissolves old grease |
| 4 | Massage with a soft sponge or brush | Combines mechanical and chemical cleaning |
| 5 | Rinse with hot water | Carries away loosened fat and salt crystals |
| 6 | Wash once with washing-up liquid | Removes remaining oil film and odours |
Which pans respond best to this method?
This technique can suit several widely used pan materials, provided you adapt the pressure and how often you use it:
- Non-stick pans: use the softest sponge, apply light pressure and avoid repeating the process every day.
- Stainless steel: can withstand slightly more pressure; this method may help with rainbow marks combined with grease.
- Enamelled cast iron: treat gently, ensuring salt crystals glide rather than grind against the surface.
With bare cast iron, many people who maintain seasoned pans still favour more traditional care: hot water, a small amount of salt alone, immediate drying and then a light coating of oil. The olive oil and salt method may also work, but extended soaking and vigorous scrubbing can interfere with the seasoning.
Everyday mistakes that damage non-stick pans
The same pattern appears in many homes: a non-stick pan works perfectly for several months, then gradually becomes sticky and difficult to use. The reason is often not its quality, but everyday treatment.
- Cooking on maximum heat, which degrades both the coating and the oil.
- Using metal utensils that create fine, unseen scores in the surface.
- Stacking pans without protection, allowing other cookware to scratch them.
- Plunging very hot pans into cold water, which can slightly warp the base.
A mild deep-clean such as the salt and olive oil method may prolong a pan’s usable life, but it cannot restore a coating that has flaked or peeled. Once the underlying metal is exposed, performance will decline regardless of how carefully the pan is cleaned thereafter.
How often should pans be deep-cleaned?
The ideal schedule depends on your cooking style and the food you prepare. Someone frying bacon every day, searing meat and making thick sauces will develop residue more quickly than someone who mainly sautés vegetables with small amounts of oil.
Many cleaning specialists recommend a gentle deep-clean every few weeks for pans in heavy use, or monthly for pans used only occasionally. Small steps, such as wiping a cooled pan with kitchen roll before washing it, can slow heavy build-up and make each deeper clean faster.
Health, safety and knowing when to replace a pan
Grease is not inherently dangerous, but old burnt fat can produce unpleasant compounds and adhere to fresh food. This may affect its aroma, flavour and texture. In severe cases, repeatedly blackened pans that are never completely cleaned may raise concerns about long-term exposure to charred residues.
Safety is another factor. Thick deposits around a pan’s edges are more likely to catch fire if oil spills and flames rise up the sides. A clean, smooth pan heats more evenly and can reduce the amount of oil needed for everyday cooking, which some households favour for dietary reasons.
When a pan stays sticky despite careful cleaning, has deep scratches or peeling patches, retirement often makes more sense than another hack.
For anyone wishing to reduce their use of powerful detergents or single-use cleaning products, using basic staples such as salt and olive oil for maintenance can change more than the appearance of a frying pan. It can alter how we view everyday kitchen equipment and how long it remains useful before being thrown away.
Seen in this light, the straightforward two-ingredient technique is not merely a viral trick. It is a small part of kitchen maintenance: using what is already available, understanding what heat does to fat and giving cookware enough care to stop tomorrow morning’s eggs from sticking.











Comments
No comments yet. Be the first to comment!
Leave a Comment