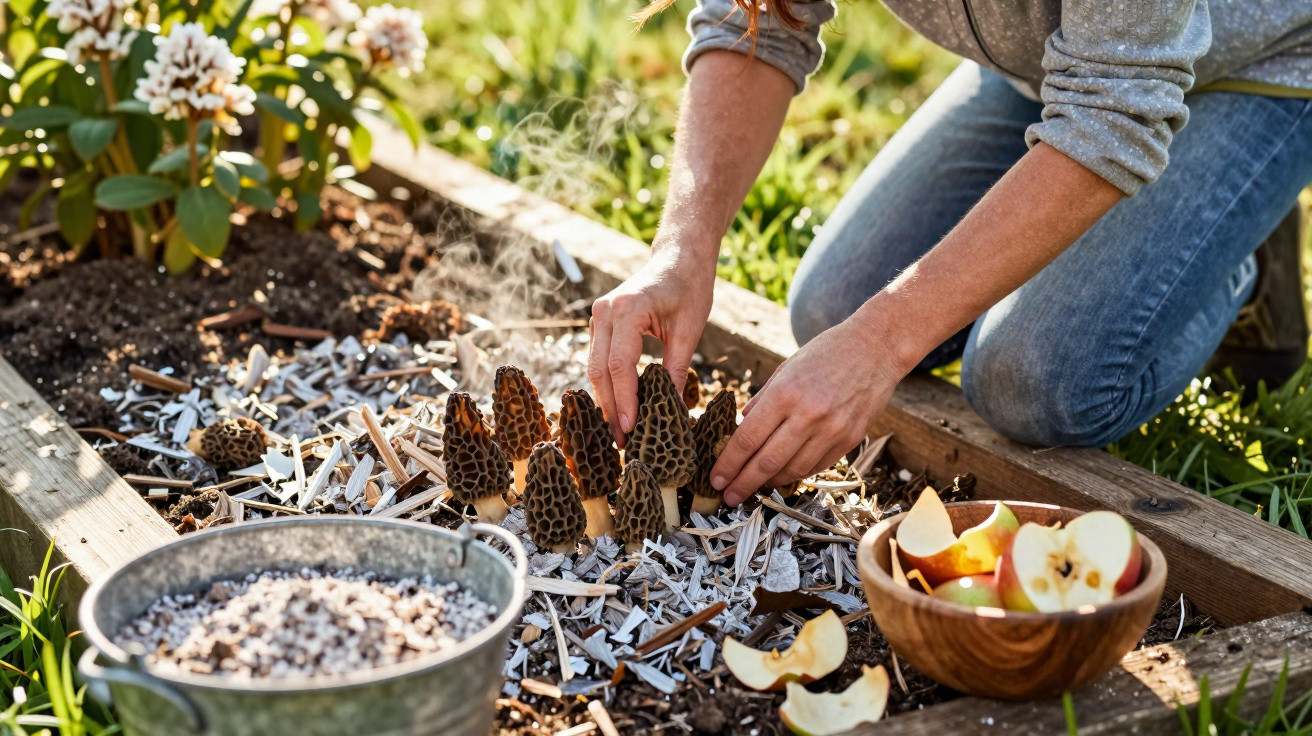
An unremarkable bit of kitchen waste could change that.
Every year, mushroom enthusiasts head into the woods and return without the morels they had hoped to find. Market prices are correspondingly high. What many people do not realise is that, given the right conditions and one particular type of kitchen ‘waste’, the chances of harvesting these sought-after fruiting bodies in your own garden increase considerably.
Why morels are considered almost impossible to cultivate
Morels are regarded as the divas of edible mushrooms. In the wild, they appear only briefly in spring, often in locations that are difficult to predict. Many amateur gardeners have tried to establish them in a bed, only to abandon the attempt in frustration.
Their reputation is not entirely undeserved, however. Morels require several conditions to be met at the same time:
- slightly calcareous, well-drained soil
- a partially shaded position with a loose layer of leaves
- consistent moisture, but never waterlogged conditions
- a distinct change in temperature towards the end of winter
If even one requirement is missing, the morels will fail to appear. Those who understand these needs and deliberately recreate their habitat stand a far better chance.
“Morels are not temperamental; they are demanding – and reward precisely recreated conditions with a true rarity in the vegetable patch.”
The ideal spot for morels in the garden
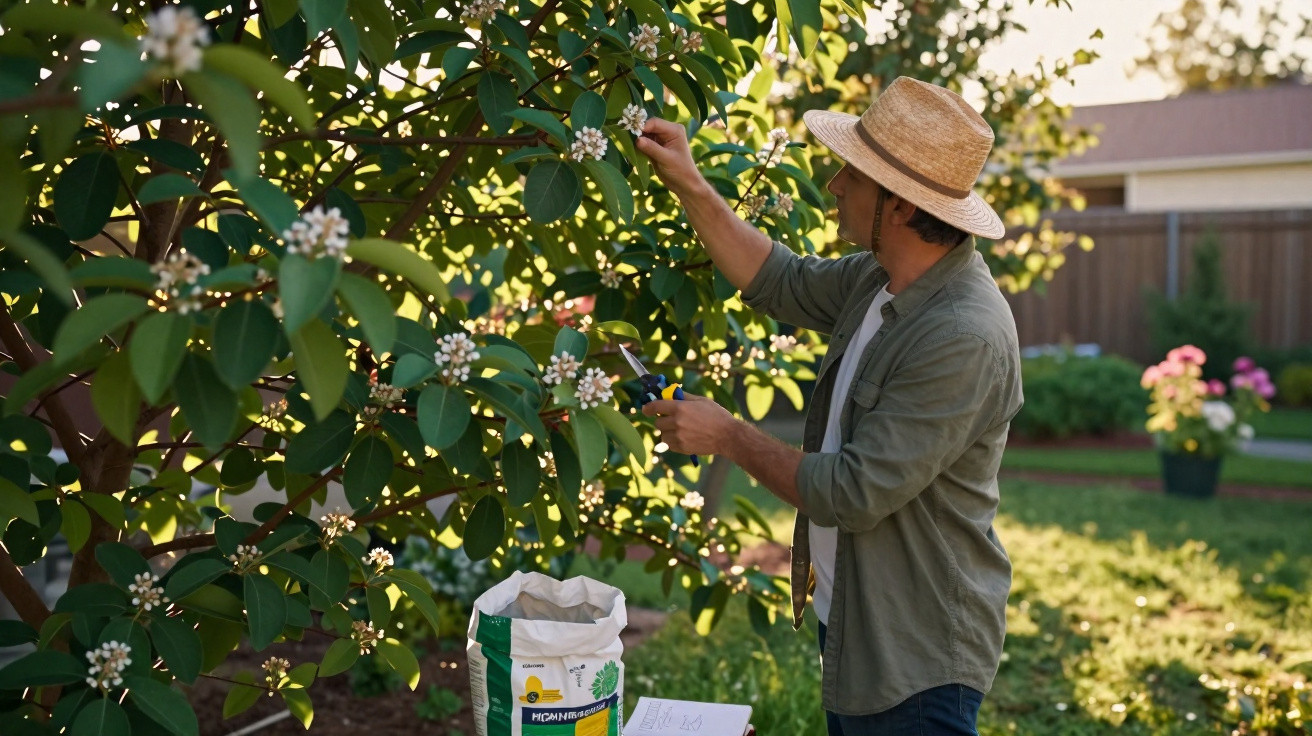
A morel bed needs peace and a stable setting. Corners beneath mature fruit trees or beside an open hedge are particularly suitable, especially where the soil is naturally somewhat calcareous.
The site should meet these criteria
- Partial shade: morning sun and afternoon shade, or the reverse
- Leaf cover: dry leaves that can rot down gradually
- No permanent wetness: water must never remain standing for long
- No regular digging: the area should be disturbed as little as possible
Ideally, choose an area that can be prepared once in autumn and then maintained only gently over the years.
The secret: wood ash and apple pomace
The key technique for creating a morel corner in the garden uses two materials that would otherwise often end up in the bin: wood ash and apple leftovers, such as the residue from juicing or pressing apples. Together, they produce an environment similar to the natural burn sites where morels frequently grow in the wild.
“Wood ash and apple pomace create a slightly alkaline, energy-rich substrate in which morels can develop their survival tissue – the basis for fruiting bodies in spring.”
Why wood ash matters so much
Wood ash raises the soil pH. Morels prefer slightly alkaline conditions, roughly between pH 7.5 and 8. Typical garden soil rarely reaches this range naturally. Pure fireplace ash from untreated wood provides exactly what is needed.
- It adds potassium and lime to the soil.
- Unlike sand, it does not dry out the ground, but combines with the organic layer.
- It imitates soil conditions after forest fires – a classic morel habitat.
Important: use cold ash from natural, untreated wood only, with no varnishes, briquettes or barbecue-lighter residues.
The role played by apple leftovers
Apple pomace – the pressed fruit pulp – supplies sugars, pectin and other carbohydrates. The fungal network, known as mycelium, uses these substances as an energy reserve to form what are called sclerotia. Fruiting bodies may later develop from these.
Put simply, the apple pomace is the food, while the ash provides the right ‘home’.
Step-by-step guide to a morel bed
Anyone wishing to try this should begin in autumn, when moisture levels, temperatures and the natural leaf layer are most suitable.
- Choose the site: Select a partially shaded spot beneath a deciduous tree and loosen the soil only lightly.
- Apply an organic layer: Mix apple pomace with some leaves and spread it to a depth of 3–5 centimetres.
- Add wood ash: Scatter 2–3 centimetres of cold wood ash evenly over the top.
- Introduce mycelium: Either use a morel growing kit, or rinse older morels in water and pour this ‘rinsing liquid’ over the area.
- Mulch lightly: Cover with a thin layer of leaves to stop the substrate from drying out.
The bed should now be left undisturbed. Over the winter months, rain, frost and microorganisms carry out the remaining fine work.
The temperature shock as a starting signal
In nature, morels react strongly to the transition from winter cold to rapid warming. This change can be recreated in the garden. Once winter has ended and the first warmer days arrive, an artificial ‘snowmelt effect’ can help.
In practical terms, this means:
- At the beginning of March, or with the first spell of reliably mild weather, check thoroughly that the soil is slightly moist.
- Water the area generously with very cold water, ideally icy water from a water butt or water containing a few ice cubes.
- Then leave it alone, ensuring only that moisture remains even and that the ground does not become waterlogged.
If every factor is right, the first morel caps may push through the leaf cover between March and May.
How long until the first harvest?
Patience is essential with morels. Even in a perfectly prepared bed, the fungus may not emerge until the second season. The mycelium needs time to establish itself in the soil and build up sufficient reserves.
If you succeed, cut the morels just above ground level and do not dig over the area. This keeps the mycelium intact and improves the prospect of further fruiting in subsequent years.
Care in the following years
Once established, a morel corner is relatively easy to keep productive:
- Work in a little fresh apple pomace every autumn.
- Add a thin extra layer of cold wood ash.
- Cover it with leaves that can rot down slowly.
- Avoid excessive foot traffic and do not use a spade in the central area.
In this way, a steady supply of kitchen and fireplace leftovers can become a long-term source of mushrooms.
Risks, mistakes and points to watch
Anyone using wood ash should do so sparingly. Layers that are too thick can make the soil strongly alkaline and harm other plants. One to three centimetres is entirely sufficient. Apple pomace must not turn into rotting sludge either, as this is more likely to attract mould than fungal mycelium.
There is another consideration: use only apples that have not been treated with preservative waxes or harsh chemicals. Those using fruit from their own garden have a clear advantage.
Why morels are so sought after
Morels are among Europe’s most highly valued culinary wild mushrooms. Their flavour is nutty, gently earthy and intense. Even small quantities give sauces or risotto a noticeably more refined flavour profile. When dried, retail prices can quickly reach double-digit sums per 100 grams.
Harvesting such produce from your own garden not only saves money, but also offers a measure of independence from nature’s unpredictability and luck in the woods.
Practical advice for beginners
For anyone ready to give it a try, here are a few final practical pointers:
- Start small: create a modest bed first, gain experience, and expand later.
- Keep records: note the location, soil type, establishment date and weather pattern. This makes later successes or failures easier to assess.
- Prefer water from a water butt, as tap water may be highly calcareous or chlorinated.
- Do not work beside heavily fertilised vegetable beds, to avoid creating an imbalance in the soil.
Anyone who observes these points will shift the odds clearly in their favour – although morels will still remain a little stroke of luck. That is precisely part of their appeal: with a few shovelfuls of wood ash, a heap of apple leftovers and some patience, one of the garden’s most exclusive delicacies may emerge.










Comments
No comments yet. Be the first to comment!
Leave a Comment