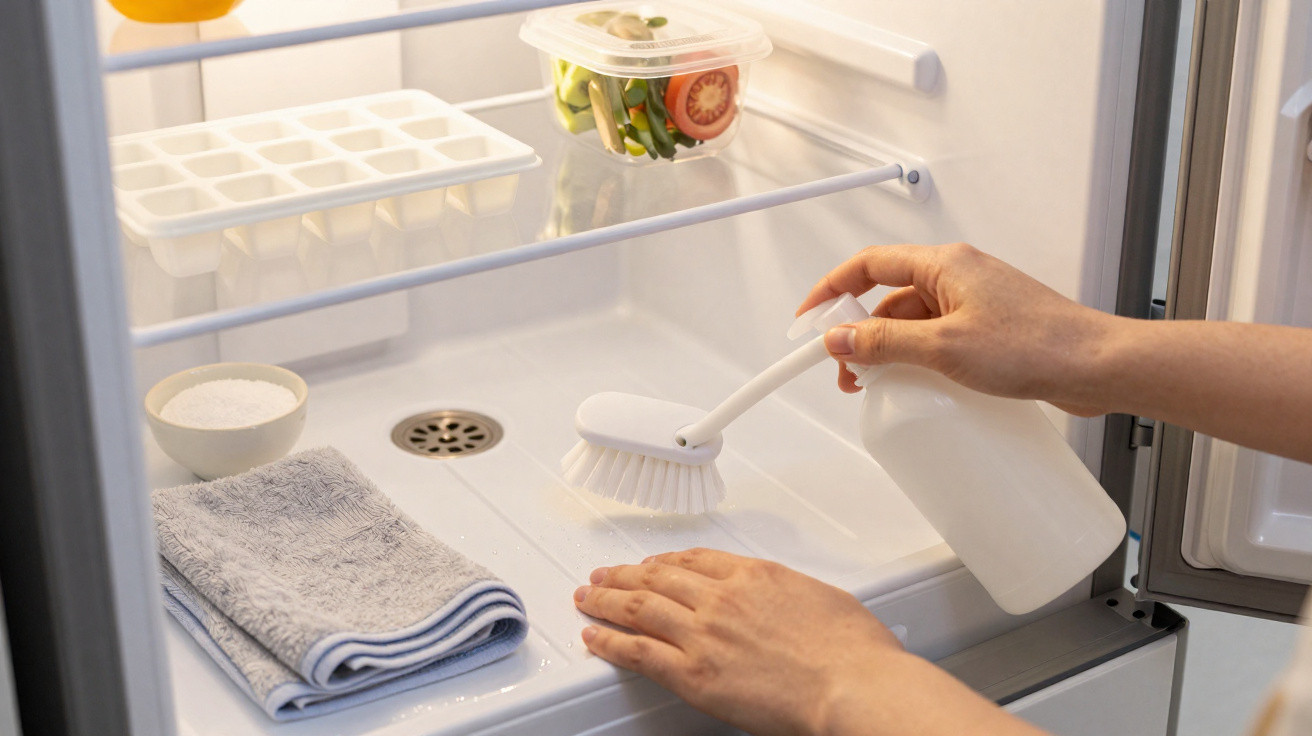
Modern fridge-freezers use a straightforward drainage arrangement behind their drawers and frozen pizzas. If the small opening in the rear wall becomes blocked, water, ice and unpleasant odours can gradually build up. Knowing the purpose of this hole – and how to maintain it – may help you avoid leaks, spoiled food and needless technician visits.
The real purpose of the small hole in your freezer
Many people overlook the tiny opening in the back wall of the fridge or freezer compartment. It is neither an unexplained feature nor a damaged component: it is the condensation drain, also known as the condensate drain.
When the appliance cools warm air, the moisture it contains forms small droplets on the rear wall. This is normal physics rather than a defect. The droplets should flow into the opening, travel along a narrow passage and collect in a shallow tray above the compressor at the rear of the appliance.
This small drain hole is the escape route for moisture that would otherwise collect, freeze and spread across your fridge or freezer.
As it operates, the compressor – the system's warm, humming core – becomes hot. This warmth slowly evaporates the water held in the tray. In a properly functioning fridge-freezer, this process is barely noticeable: there should be no drips, puddles or back wall that appears to be “crying” for long. The same quiet cycle continues every day.
Trouble begins once debris or ice blocks the channel behind the opening. With no route out, water returns into the compartment instead.
Signs that the drain is blocked
A blocked drain does not usually trigger an alarm. More often, it reveals itself through a number of less obvious warning signs.
- Water collecting beneath the lowest drawer or salad crisper
- A cold, damp area at the bottom of the fridge interior
- A puddle appearing on the floor immediately beneath the appliance
- Thick ice developing in one particular area instead of as a light, even coating
- Ongoing musty or stale odours despite regular cleaning
In many households, crumbs, packaging film, spilled sauce and milk drips gradually move towards the back wall. Eventually, they can enter the opening. Combined with cold temperatures and moisture, this material creates a sticky blockage in the narrow channel.
Temperature choices can make the issue worse. A freezer performs most dependably at roughly -18 °C, while the fridge section should be close to +4 °C. Colder settings can create extra ice that freezes the drain and holds moisture in place, whereas warmer settings can reduce the storage life of food. The usual -18 °C setting is not arbitrary: food safety authorities use it as the benchmark for safe long-term frozen storage.
Cleaning the fridge-freezer drain safely
On finding this tiny hole, people often choose unsuitable tools. Knives, skewers, toothpicks and metal wire may seem useful, but they pose a genuine risk. The channel behind the opening is narrow and designed for water rather than pressure. One slip could pierce plastic, harm seals or strike concealed components.
Gentle tools work best: think cotton, soft bristles and flexible plastic, not blades or wire.
A step-by-step cleaning guide
Most blockages can be cleared without technical expertise. Usually, a slow and careful method is enough.
- Unplug the appliance if you expect to work inside the compartment for longer than a minute or two.
- Remove the bottom shelf or drawer to give yourself a clear view of, and access to, the small opening at the rear.
- Carefully insert a cotton bud, drinking straw or slim soft brush into the opening.
- Moisten the cotton bud with a small amount of white vinegar to loosen deposits and neutralise odours.
- Proceed gently with light pressure, without forcing or firmly twisting the tool.
- Clean around the opening afterwards, preventing crumbs and dirt from dropping back inside.
Some manufacturers include a dedicated plastic cleaning rod. If it remains in the bag with your manual, this is its intended use.
| Tool | Safe to use? | Why |
|---|---|---|
| Cotton bud with vinegar | Yes | Soft, absorbs dirt, gently dissolves deposits |
| Soft pipe-cleaner or mini brush | Yes | Flexible, reaches deeper without scratching |
| Plastic drinking straw | Yes | Can blow or suck out water, won’t gouge plastic |
| Knife, skewer, wire | No | May damage the channel or hidden parts, causing leaks |
When simple drain cleaning is not enough
In some cases, the blockage and ice accumulation are too severe for a cotton bud alone. If drawers are difficult to open or the rear wall develops thick white sheets of ice, the appliance requires a full defrost rather than a brief attempt to clear the opening.
When and how often to defrost
Freezers without a No Frost system gradually accumulate ice over several months. As this layer gets thicker, it holds water, reduces available room and makes the motor work harder. Many manufacturers advise carrying out a complete defrost every 3–6 months, based on how frequently the door is opened and the humidity level in your kitchen.
A safe defrosting process generally involves the following:
- Transfer food to a cool box or, where possible, a neighbour's freezer.
- Turn off the appliance and leave its door open.
- Put towels along the bottom to absorb melting water.
- Allow ice to melt naturally, or place bowls of hot – but not boiling – water securely inside.
- Do not break ice away with a knife or any sharp item.
- After the appliance is dry, clean the drain opening before turning it back on.
No Frost appliances use fans and scheduled warming cycles to reduce ice formation, meaning they seldom need a full defrost. However, they still depend on unrestricted airflow, so loose plastic bags and damaged packaging that cover vents can quietly interfere with the system.
Five everyday habits to control water and ice
A clear, clean drain is most effective when paired with everyday measures that reduce moisture within the cabinet.
- Keep food in sealed containers or tightly closed bags to reduce continual evaporation.
- Allow hot meals to cool to room temperature before putting them in the fridge or freezer.
- Make sure the door gasket touches the frame fully and evenly all the way around.
- Maintain steady settings of about -18 °C for the freezer and +4 °C for the fridge rather than changing them often.
- When carrying out regular cleaning, quickly wipe the drain area before dirt becomes hardened.
Stable temperatures, tight doors and a clear drain work together. When one fails, moisture shows up first.
How the small opening influences energy use and food safety
Moisture causes more than inconvenient puddles. Once water freezes onto walls and shelves, the appliance has to cool through the additional insulating layer. The motor operates for longer, electricity consumption increases and temperature fluctuations are more likely.
These fluctuations are important for frozen food. At -18 °C, bacteria cease multiplying and food can be stored safely for months. When ice build-up makes the compressor run unevenly, certain areas may become warmer than the display indicates. Soft ice cream or freezer burn around the edges of meat can indicate unstable temperatures, with the source sometimes being the blocked drain and ice surrounding it.
When to contact a professional
Basic drain cleaning is manageable for most homeowners. However, certain symptoms can indicate a more serious issue:
- Water reappears within a few days of cleaning the drain.
- New, unusually loud sounds occur after ice has been removed.
- Cracks or dents can be seen near the drain or rear wall.
- The fridge cannot reach its selected temperatures, even after a complete defrost.
A technician can then inspect for damage hidden within the drainage tube, obstructed trays above the compressor or faulty sensors. Resolving a minor fault early will usually cost less than operating an overworked, partly frozen system for months.
Extra maintenance tips to prolong your fridge-freezer's life
Most fridge-freezers remain in use for approximately 10 to 15 years. Owners commonly pay attention to gleaming shelves and door bins, but less noticeable components – including drains, gaskets and coils – often determine the appliance's lifespan.
Several simple routines can make a difference:
- Vacuum dust from behind or below the appliance once or twice annually, allowing the compressor and condenser to breathe.
- Test door seals using a sheet of paper: if it slides out easily along the whole edge, the seal may require replacement.
- Do not overfill the appliance: if air cannot circulate, cold air and moisture collect in stagnant corners.
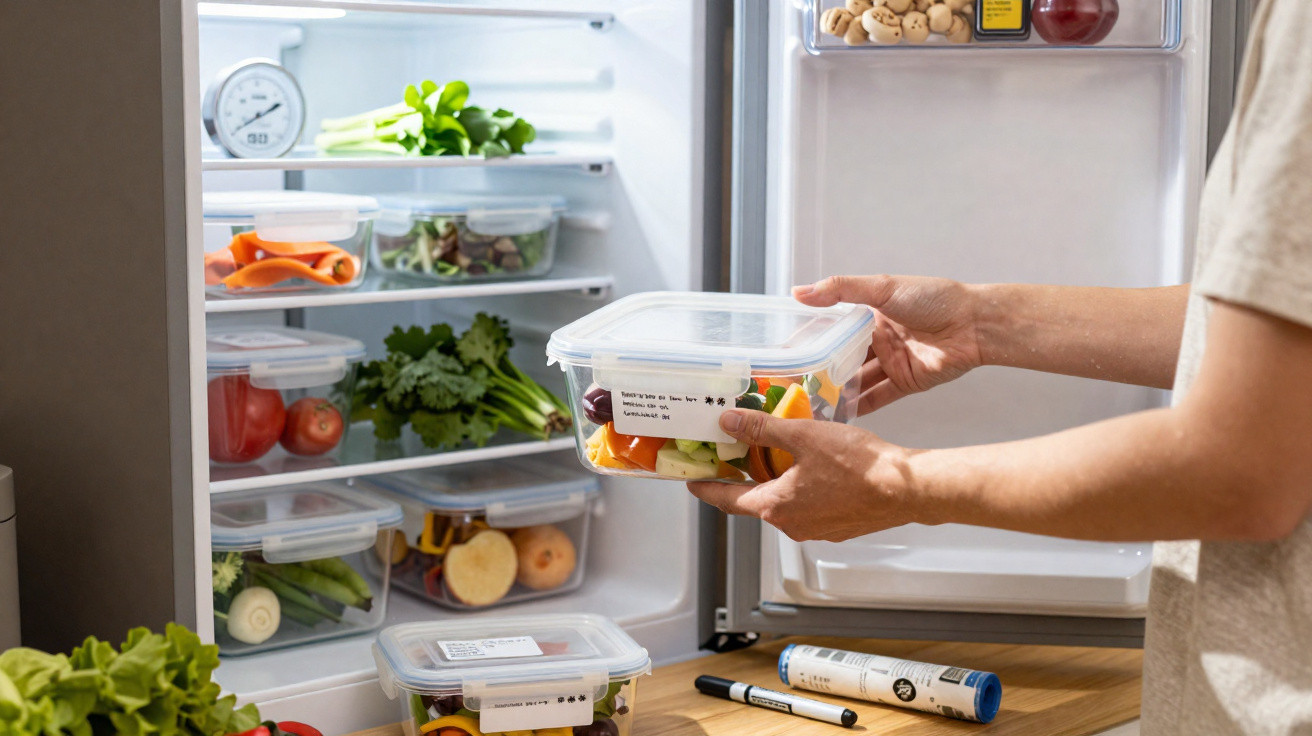
- Label and date frozen items so that drawers are not left open while you search without direction.
The small drain hole is central to this understated maintenance routine. Ensuring water continues to pass through it makes the rest of the system's work easier. This can mean not only fewer puddles and less ice, but also lower energy bills and food that retains its texture and flavour for longer.













Comments
No comments yet. Be the first to comment!
Leave a Comment