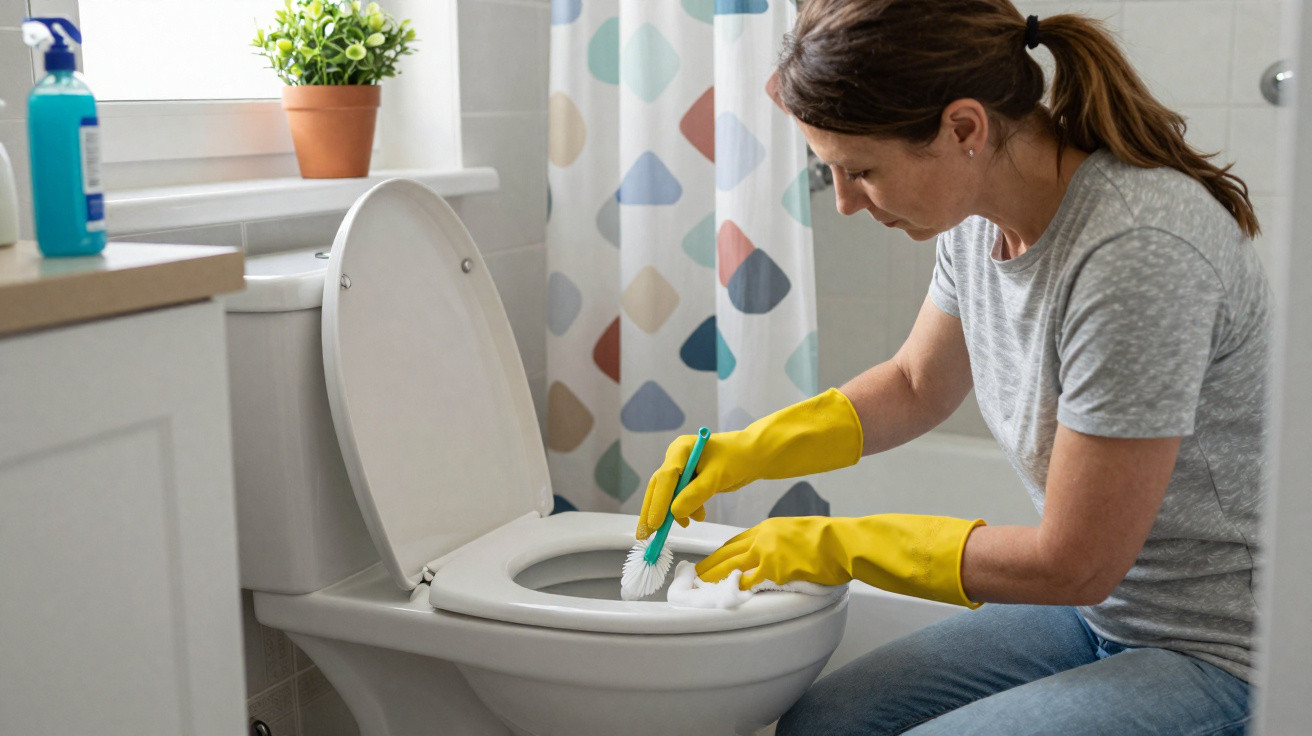
Plastic loses its shine, dampness remains, and unpleasant odours persist. A quick weekly routine can change that.
While the toilet bowl is routinely cleaned, the seat and lid are often overlooked. This neglect can lead to yellow rings, lacklustre areas and lingering smells. It is not simply a matter of poor cleaning habits: chemistry, water hardness and unsuitable products all contribute. The answer is likely already in your kitchen cupboard.
Why toilet seats turn yellow
Ongoing humidity gradually softens plastic. Splashes can leave behind urea and uric salts, which attach themselves to limescale. Calcium and magnesium deposits from hard water add another film. Aggressive cleaning products can make the surface rougher and more porous, allowing colour and odours to become trapped.
Toilet lids are often made from polypropylene or urea-formaldehyde resins. Although these materials cope well with knocks, they can oxidise over time. Regular contact with strong bleach or ammonia accelerates oxidation and makes the yellowing more pronounced. Mild cleaning chemistry is more effective than excessive force.
Yellow stains build through mineral deposits, urine crystals, and surface damage. Reduce the film. Protect the plastic. Results follow.
The two-ingredient method with baking soda and white vinegar
Two common cupboard products can tackle most discolouration. Baking soda works as a mild abrasive and deodoriser, while white vinegar breaks down mineral build-up and urine salts. Combined, they produce a brief fizz that releases stubborn residue without scratching the surface.
Step-by-step method
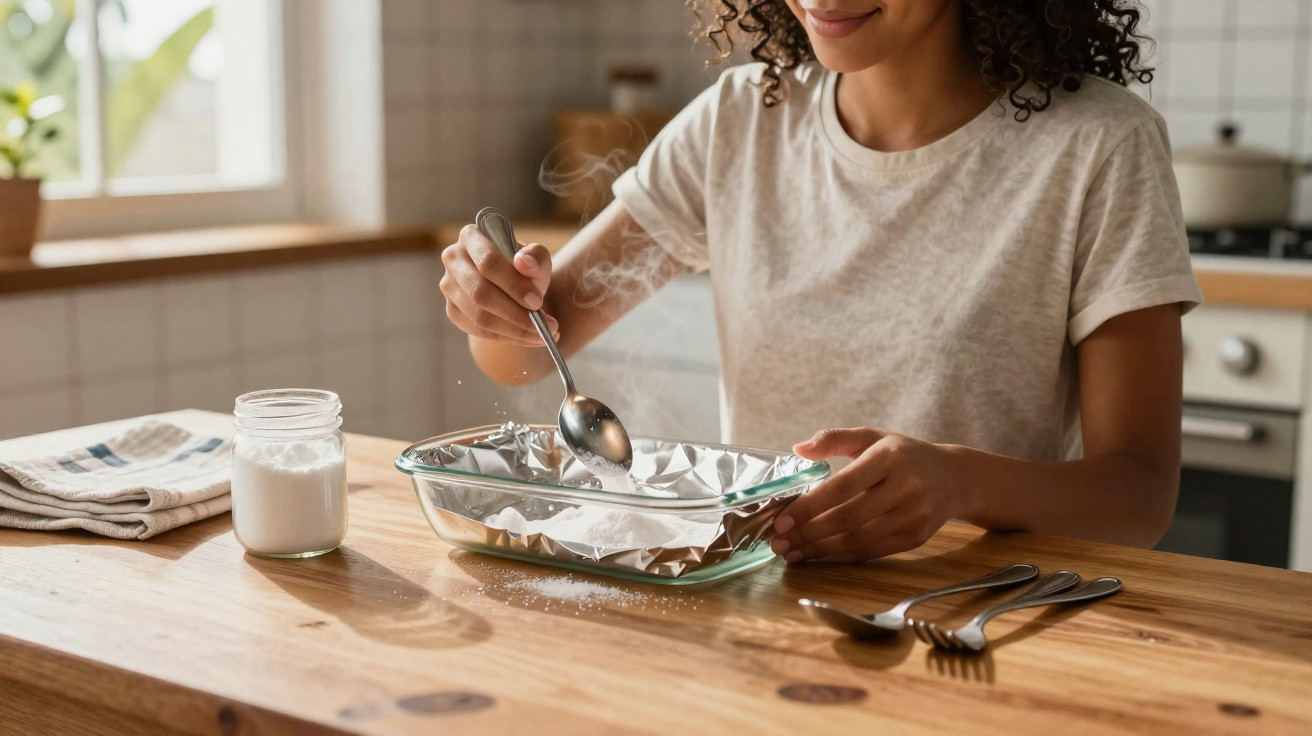
- Put 2 tablespoons of baking soda in a small bowl, then add 2 tablespoons of white vinegar. Mix them into a foaming paste.
- Apply a light coating to every yellowed section. Reach the hinges and edges with a silicone spatula or soft sponge.
- Leave it for 10 minutes, allowing the fizz to work within the pores of the surface.
- Clean gently using a soft-bristled brush or non-scratch sponge. Lift away the residue instead of rubbing it further into the plastic.
- Rinse with warm water, then dry straight away with a microfibre cloth to prevent fresh mineral marks.
Timing matters. Give the paste contact time, then wipe dry. A dry surface stays cleaner and whiter longer.
When stains resist: hydrogen peroxide plus baking soda
For established rings, use 3% hydrogen peroxide with baking soda. Hydrogen peroxide brightens and sanitises, and baking soda helps the mixture remain on the surface while providing gentle abrasion. The bubbling action can reach tiny pits left by previous harsh cleaning products.
How to apply and what to expect
Sprinkle baking soda straight over the stained areas. Spray or pour 3% hydrogen peroxide onto the powder. It will begin to bubble. Leave it in place for 10 to 15 minutes, then lightly scrub with a damp sponge before rinsing and drying. After one treatment, the plastic should look brighter and odours should be reduced. Where water is hard, repeat the process weekly for upkeep.
Do not combine peroxide and vinegar in the same container. That pairing can form peracetic acid, which irritates skin and lungs.
Bleach as a last resort, used with care
Certain marks may remain after gentler treatments. In that case, diluted bleach can be used sparingly. Mix 120 ml of ordinary household bleach with 3.8 litres of warm water. Apply the solution with a sponge, leave for 3 to 5 minutes, then rinse extremely thoroughly and dry the surface. Keep a window open and use gloves. Reserve bleach for occasional intensive cleaning, as frequent bleach treatments can dull plastic, increase porosity and cause yellowing to return more quickly.
Never combine bleach with vinegar or ammonia, as doing so produces toxic gases. Thoroughly rinse the area before changing to a different product.
| Method | Best for | Contact time | Notes and risks |
|---|---|---|---|
| Baking soda + white vinegar | Fresh stains, mineral film, odour | 10 minutes | Mild and suitable for repeated use; dry after rinsing to avoid spotting |
| Baking soda + hydrogen peroxide | Old rings, deep pores, sanitisation | 10–15 minutes | Test on coloured seats; do not combine with acids |
| Diluted bleach | A last option for persistent staining | 3–5 minutes | Use infrequently; never mix with ammonia or acids |
Prevention beats scrubbing
A straightforward routine prevents most stains from becoming established. Once a week, wipe the toilet seat and lid using warm water, a small splash of white vinegar and a drop of mild washing-up liquid. Rinse and dry afterwards. This regular step interrupts the cycle of residue, odour and oxidation.
Good ventilation also has a noticeable effect. Run the extractor fan while showering and for 20 minutes afterwards, or open a window where possible. Reduced humidity means fewer microbes and slower ageing of the plastic. Drying the surface quickly with a microfibre towel after cleaning also stops minerals from settling.
Mistakes to avoid
- Do not use steel wool or abrasive scouring powders. Their tiny scratches make fresh staining more likely.
- Avoid neat acids and undiluted ammonia, which can damage finishes and seals.
- Never allow wet cleaning products to dry on the surface, because their residue can etch the plastic and cause yellowing.
- Avoid oil-based polishes for extra shine. Oils collect dust and retain odours.
Small upgrades that make cleaning easier
Look at the material of your toilet seat. Polypropylene is resistant to chips and simple to clean. Wood-core seats feel warmer, but can take in moisture around their edges when the coating is damaged. Urea-formaldehyde has a glossy, hard appearance, although harsh chemicals can cause it to craze. If replacing your seat, select a smooth closed-front design with quick-release hinges. Quick-release fittings allow the seat to be removed for a five-minute deep clean around the fixing posts.
Hard water is another factor. White crust on taps indicates that a small in-tank cleaner will not resolve staining. A whole-house water softener or compact cartridge fitted to the bathroom water supply cuts down scale and reduces cleaning time. Citric acid can also be used periodically to descale hinges and bolts; rinse thoroughly afterwards.
Extra context and practical add-ons
In terms of cost, a month of whitening with baking soda and vinegar costs only pennies. Hydrogen peroxide is slightly more expensive, but one bottle lasts through many cleaning cycles. Gloves protect your hands and make it more comfortable to scrub for longer. A soft-bristled toothbrush is useful for reaching hinge bases and screw caps, where smells commonly remain.
For a shared bathroom, create a simple rota. One person can complete a five-minute wipe-down each weekend. Store a labelled spray bottle containing the mild cleaning solution beneath the sink, with a clean cloth beside it. When the task is easier to start, it is more likely to be completed on time.
If fragrances are a concern, choose unscented products. The scent of vinegar disappears as it dries. For a fresher result, add a few drops of tea tree or lemon essential oil to the cleaning water. Test it on an inconspicuous area first, as oils may change the sheen of certain plastics.
Tenants should photograph any existing stains for their records. Start with gentle cleaning. If the discolouration remains, it may result from plastic oxidation rather than dirt. Even bleach cannot fully reverse that condition. Replacing the seat with an inexpensive one can quickly improve its appearance and can be taken with you when you move out.






Comments
No comments yet. Be the first to comment!
Leave a Comment