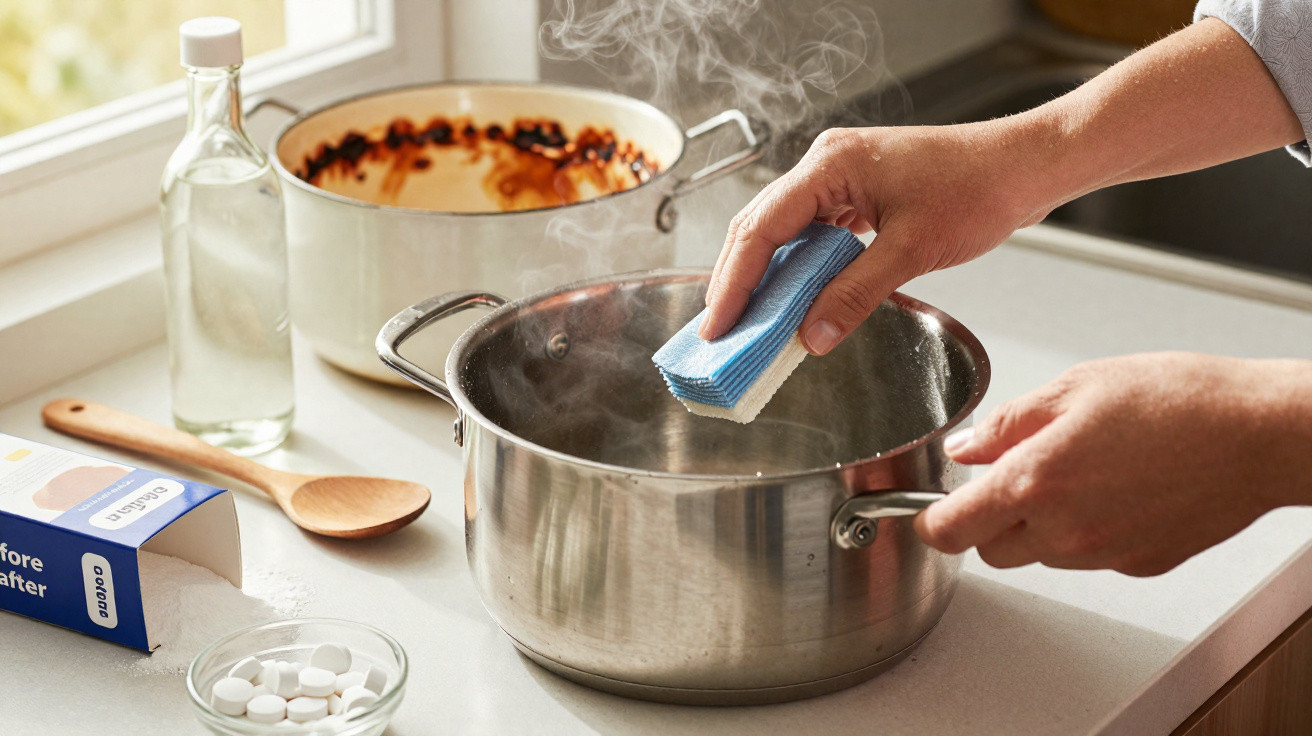
That saucepan that once gleamed may now resemble something from a cooking disaster film, and extra scrubbing can appear to make the problem even worse.
Plenty of home cooks simply put up with greasy, stained or burnt pans as part of preparing everyday food. However, a few ordinary ingredients and a little chemistry can bring worn pots remarkably close to their original appearance.
Why pots quickly lose their shine
Even the most careful cook leaves traces behind. Oil splashes onto the sides and gradually bakes into place. Starches caramelise, tomato sauces leave stains, and intense heat changes the colour of metal. In time, even well-made cookware can begin to look tired and dull.
This is not purely an appearance issue. Films of grease may hold on to odours, while burnt deposits can create hot spots that result in uneven cooking. Some people deal with this by using metal scourers more forcefully or applying harsh oven sprays.
Aggressive scouring and harsh chemicals can damage non-stick coatings, scratch stainless steel and shorten the life of your cookware.
The reassuring part is that specialist products are unnecessary for removing most of this build-up. A particularly effective pairing is probably already in your kitchen.
The low-cost cleaning combo in your kitchen
A traditional low-budget approach, favoured by many experienced home cooks, uses two cupboard essentials: bicarbonate of soda and white vinegar. They are affordable, easy to find and considerably gentler than many shop-bought degreasers.
What each ingredient does
- Bicarbonate of soda (baking soda): This mild alkali helps to break up grease and loosen burnt food. Its fine particles also provide gentle abrasion.
- White vinegar: As a mild acid, it can dissolve mineral deposits, soap scum and certain types of discolouration. It also helps release residues that have stuck to the surface.
- Hot water: This softens dried food and enables the mixture to reach all areas of the pan.
Each item is reasonably effective alone. When used in a straightforward order, though, they can deal with stubborn residue without being overly harsh on most types of cookware.
Step-by-step: make pots shine again
For stainless steel or enamel pot interiors
Use this approach for metal and enamel interiors, rather than delicate non-stick surfaces:
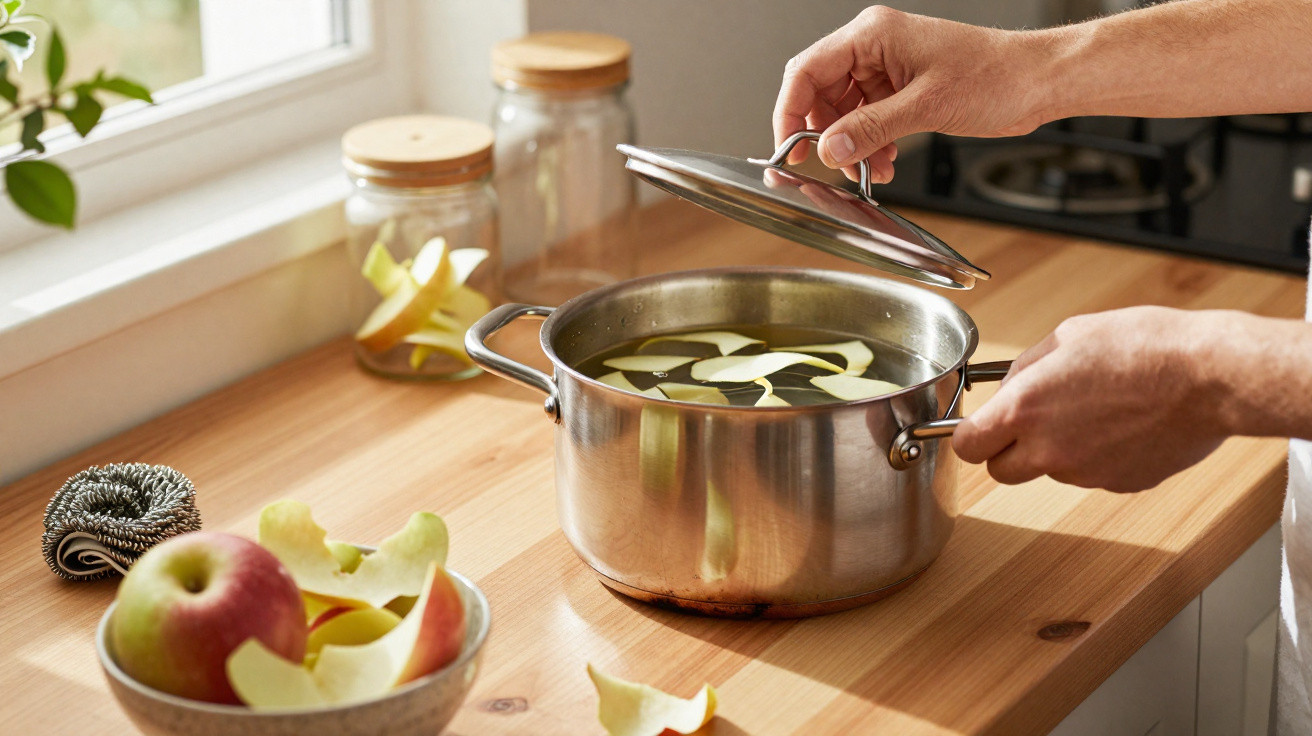
- Soak with hot water first. Add very hot tap water until the burnt or greasy section is only just covered. Let it stand for 15–30 minutes.
- Add bicarbonate of soda. Put 2–3 tablespoons into the warm water. Use up to 4 tablespoons for a large pot.
- Simmer gently. Set the pot on the hob and bring the liquid to a light simmer for 10–15 minutes. Avoid a vigorous boil.
- Allow it to cool and scrape. Switch off the hob, leave the pot to cool a little, then gently shift loosened residue with a wooden or silicone spatula.
- Create a cleaning paste. Tip away most of the liquid, keeping the surface damp. Apply extra bicarbonate directly to persistent marks, then add a few drops of water to make a paste.
- Scrub gently. Work in circular movements with a soft sponge or non-scratch pad, then rinse thoroughly.
- Finish with vinegar. If stains or a cloudy layer remain, add a small splash of white vinegar, swirl it around and rinse once more.
Let heat and chemistry do most of the work so your arms and your cookware don’t have to.
For burnt bases and exterior surfaces
A pan’s base often receives the most severe burning, so applying the mixture directly is usually most effective.
- Turn the pot upside down and dampen the base with warm water.
- Cover every stained section with a generous coating of bicarbonate.
- Add one or two teaspoons of vinegar until it fizzes lightly, then spread it into a paste.
- Leave the paste for 20–30 minutes. For tougher stains, cover the base with a damp cloth to prevent the paste from drying out.
- Scrub using a non-scratch pad, rinsing and applying fresh paste to any dark areas that remain.
Can bicarbonate and vinegar be used on non-stick pans?
Non-stick coatings require a gentler approach. Bicarbonate and vinegar can still be used, but avoid simmering them on the hob and use minimal pressure.
| Surface type | Safe to simmer? | Scrubber to use |
|---|---|---|
| Stainless steel | Yes, gentle simmer | Non-scratch pad or soft sponge |
| Enamel | Yes, low heat only | Soft sponge |
| Non-stick coating | No simmering | Very soft sponge or cloth |
| Cast iron (uncoated) | Yes, but avoid vinegar on the bare iron | Brush or non-metal scrubber |
Gentle method for non-stick interiors
- Fill the pan with hot tap water and a teaspoon of mild washing-up liquid.
- Leave it to soak for at least 30 minutes.
- Put a small quantity of bicarbonate, around a teaspoon, onto a wet and soft sponge.
- Gently wipe the inside, focusing on greasy rings and around the edges.
- Rinse well, taking care not to scratch flaking or damaged sections.
A very small splash of vinegar is suitable for the exterior of a non-stick pan, although many manufacturers recommend keeping strong acids away from the coated interior.
When home remedies outperform commercial cleaners
Products intended for burnt-on food may act fast, but there are compromises: powerful odours, possible skin irritation and greater expense.
For most everyday build-up, bicarbonate and vinegar deliver enough cleaning power without the sting to your lungs or wallet.
There are environmental benefits too. One bag of bicarbonate and one bottle of vinegar can replace several plastic containers of specialist cleaners. Both break down readily and lack the same hazard warnings found on many spray products.
How to prevent pots reaching the “disaster” stage
The cheapest cleaning method is the one you never have to use: stopping major burnt patches before they form.
Everyday habits to protect cookware
- Deglaze immediately: Once you have fried food, pour in a splash of water while the pan remains warm. This releases residue before it can harden.
- Avoid high heat on an empty pan: Leaving an empty pan over high heat for too long burns even tiny traces of oil into its surface.
- Soak rather than bake residue on: When food sticks, fill the pot with warm water as soon as it is safe to touch.
- Match the pan to the hob size: Flames or heating elements extending up the sides can scorch the outer walls.
- Use gentler utensils: Wooden or silicone tools limit scratches that give grease somewhere to cling.
When stains can indicate a larger issue
Most marks are merely cosmetic, although damage can occasionally be more serious. A warped base may affect cooking results, and deep pitting inside aluminium cookware can indicate corrosion. If a non-stick surface is flaking, the coating has reached the end of its useful life.
In these situations, cleaning will not return the cookware to proper performance. Retiring the pan may then be the safer option, with the replacement treated more gently from its first use.
What “burnt-on” really means
Although the phrase sounds alarming, it generally refers to a combination of carbonised food, oxidised fats and, on certain metals, slight heat-related colour changes. These elements each respond differently to cleaning.
Soaking and bicarbonate soften carbon deposits effectively. Warm water and mild detergent work on greasy films. Heat tints on stainless steel might fade only a little, but they rarely affect how the pan functions. Understanding the difference sets realistic expectations: some signs of heavy use are cosmetic scars rather than a hygiene concern.
Realistic examples from a busy kitchen
Consider a saucepan used every morning for porridge. A grey ring develops at the level where the oats sit. Simmering bicarbonate water in it once a week, followed by a brief scrub, prevents the ring from becoming permanent. The saucepan remains presentable without requiring an hour of cleaning at the weekend.
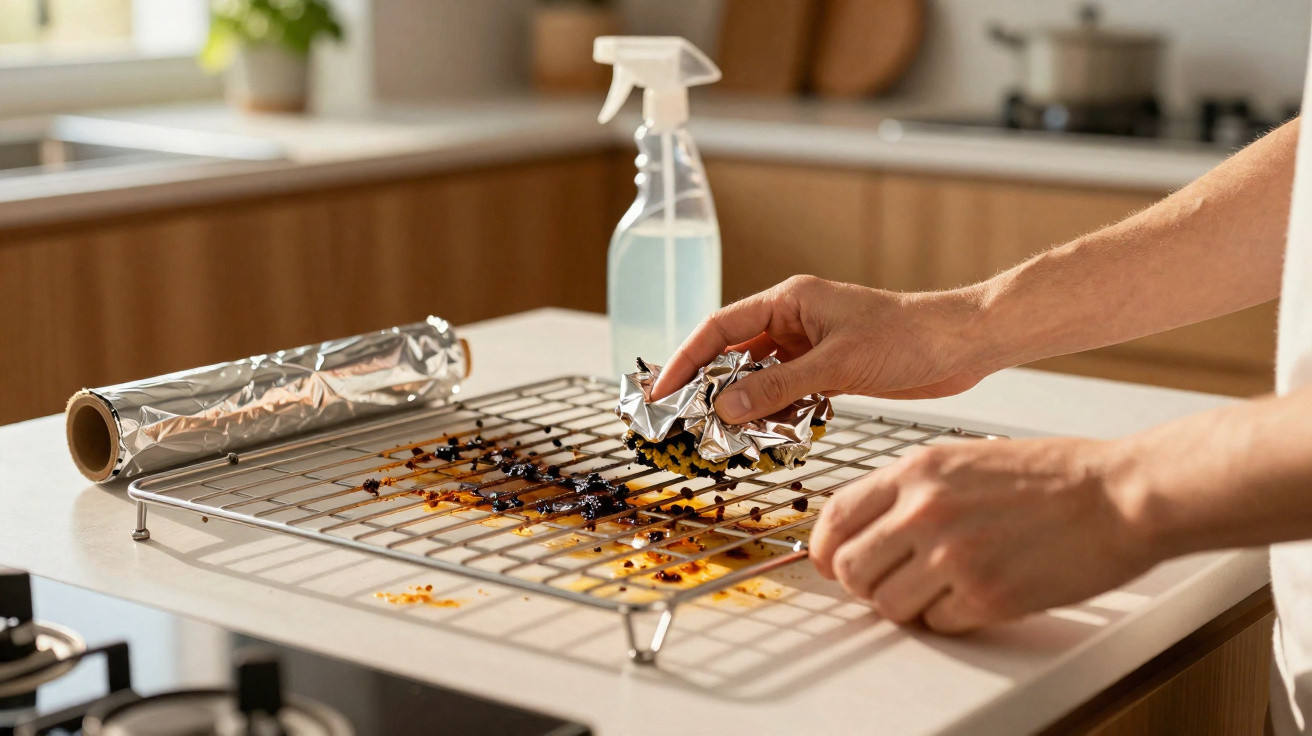
Or imagine a roasting tray with persistent brown corners after a Sunday lunch. Rather than attacking it with steel wool, cover its base with hot water and a couple of tablespoons of bicarbonate, leave it overnight, then add a splash of vinegar the following day. The residue comes away with far less effort, and the tray has a longer life.
These inexpensive, understated routines need not feel like separate projects. They simply become part of cooking, keep your equipment looking smarter and postpone the point at which you begin looking for an entirely new set of pans.









Comments
No comments yet. Be the first to comment!
Leave a Comment