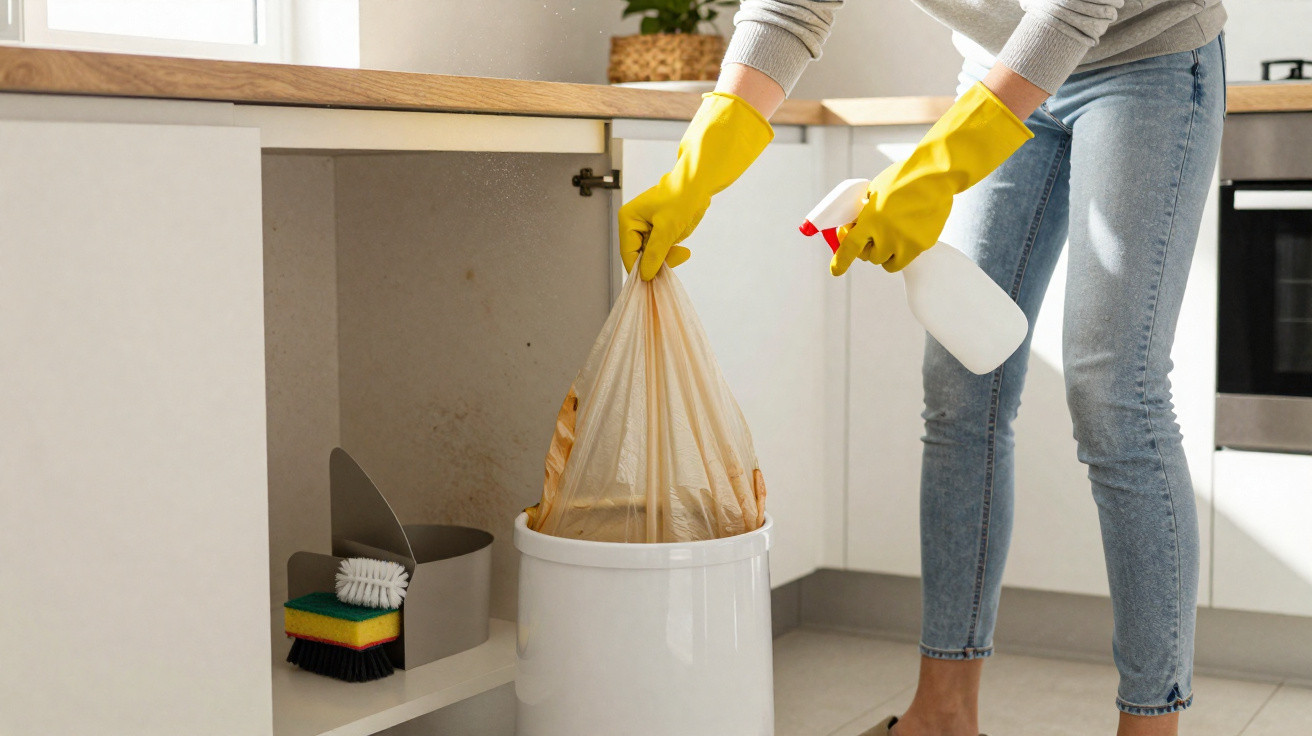
While worktops, the hob and the sink are wiped down regularly, one essential kitchen item is often overlooked. It usually sits in a corner, quietly takes away our rubbish – and can become a biological problem in the background: the kitchen bin. Anyone who only changes the liner misses what collects underneath.
Why the kitchen bin is dirtier than you think
Many people assume that, as long as there is a bin liner inside, everything stays reasonably clean. In reality, that is rarely the case. Liners can tear, slip down or leak. Liquid from food waste seeps to the bottom, grease sticks to surfaces and tiny food particles cling to the sides.
Over days and weeks, this creates a coating of organic matter. That layer provides the ideal breeding ground for bacteria, mould spores and yeasts. If the kitchen bin suddenly smells musty even though the lid is closed and the liner appears fresh, it is usually a clear sign that something has built up inside and needs removing urgently.
The kitchen bin is not a neutral container – when ignored, it turns into its own micro-ecosystem.
Everything produced in the kitchen ends up in the bin as well. Spoiled leftovers from the fridge, sauce stuck to packaging, mouldy food and damp kitchen roll all create a mixture that can become unhygienic. Unlike work surfaces, however, the kitchen bin rarely receives the same cleaning attention.
Hygiene experts repeatedly point out that the kitchen bin is among the dirtiest surfaces in the home – often dirtier than the toilet or the floor. This is not because there is “more dirt” there, but because the area is simply neglected. Dust and grease splashes gather on the outside, while bacteria multiply rapidly inside in the warm kitchen air.
How often should you really clean the kitchen bin?
The straightforward answer is clear: a thorough clean once a week is considered a sensible guideline. This is especially useful when an average household changes the bin liner every few days. Anyone who cleans their bin only every few weeks gives micro-organisms plenty of time to spread.
For many people, “cleaning it weekly” sounds like a lot of effort. In practice, every 14 days can sometimes be enough for clean, dry waste, provided that nothing leaks and there is no strong odour. However, there is one firm rule that should not be ignored.
If liquid leaks out or the liner has a hole, the bin must be cleaned immediately – without delay.
When juices, sauces or greasy residues remain at the bottom of the bin for several days, germ growth increases dramatically. The result can be persistent odours, possible mould growth and, in extreme cases, health risks for toddlers, pets or people with weakened immune systems.
Step-by-step guide: how to clean the kitchen bin properly
A deep clean does not require a specialist laboratory, just a few minutes and items that nearly every household already has. This simple routine has proved effective:
- Empty the kitchen bin completely and remove any larger residues from the base and sides, using a disposable spatula or kitchen roll if necessary.
- Fill the bin to a depth of several centimetres with hot water and washing-up liquid. Hot water loosens grease, while washing-up liquid reduces odours and lifts deposits.
- Spray a cleaning product or degreaser with a disinfecting effect over the inner surfaces and leave it to work for a few minutes.
- Rinse everything thoroughly until no cleaner remains, as residue can otherwise create new odours.
- Dry the bin completely, ideally with kitchen roll or a clean cloth. Moisture encourages mould growth again.
- Finally, wipe the outside with a damp cloth too, as greasy fingerprints, dust and splashes can stick there.
One particularly practical tip is to place the bin in the shower or bath for rinsing. A shower head allows the inside to be rinsed quickly and evenly, without having to struggle around the kitchen sink. This saves time and makes the unpopular task far more manageable.
Cleaning products that work particularly well
Anyone who is sensitive to harsh chemicals can use gentler alternatives. Here is a broad overview:
| Cleaning product | Suitable for | Note |
|---|---|---|
| Washing-up liquid + hot water | General cleaning, mild odours | A basic solution that is almost always sufficient |
| All-purpose cleaner with disinfectant | Heavier soiling, bacteria | Follow the label instructions and rinse well |
| Vinegar water | Odours, light limescale | Do not use on sensitive metal parts |
| Sodium bicarbonate (baking powder) | Odour absorption, light stains | Apply as a paste and leave briefly to work |
Better waste habits: keeping the bin cleaner between washes
Reducing the strain on your kitchen bin means you will need to scrub it less often. A few small changes in behaviour are often enough to cut down noticeably on odours and germs.
Dispose of waste thoughtfully: what belongs in the bin – and how
Wet and greasy waste causes the biggest problems. It feeds bacteria and introduces a great deal of liquid into the bin. Useful measures include:
- Briefly wrap very wet or oily leftovers, such as sauces, cooking fat or stewed fruit, in kitchen roll before throwing them away.
- Dispose of liquids separately wherever possible rather than pouring them directly into the liner.
- Roughly wipe heavily soiled packaging before it goes into the rubbish.
- Get rid of spoiled food promptly instead of leaving it in the fridge for weeks.
The drier the contents of the liner, the more slowly bacteria grow and the lower the odour level will be.
Change bin liners at the right time
Many people wait until the liner is nearly bursting, either for convenience or to save money. Yet this is exactly what encourages problems. The fuller the liner becomes, the greater the pressure on its contents. Liquids are forced downwards, small tears develop more easily and the liner can shift out of place. Microbes are given ideal conditions.
A sensible guideline is to change the liner a little earlier during warmer months, even if it is not completely full. For strongly smelling waste such as fish, raw meat or leftovers from a barbecue, it is also worth changing it immediately on the same day.
Compost, food waste and other ways to reduce the load on the kitchen bin
Separating food waste or composting removes a large proportion of organic material from the normal kitchen bin. This significantly reduces odours and germ levels. Coffee grounds, for example, are good fertiliser for many plants and do not need to go into general waste.
Many towns and cities provide separate food-waste bins. Anyone using them should still remember that moisture remains a problem there too. Food-waste liners tear more easily when they become too wet and can then leave dirt behind as well. Dry kitchen waste, such as bread leftovers or paper towels, can help absorb excess moisture in the food-waste bin.
Controlling odours: small tricks with a big effect
Odours are caused not only by fresh waste, but also by decomposition. Making conditions less favourable for this process already puts you at an advantage. A few straightforward measures can help:
- One or two tablespoons of bicarbonate of soda or baking powder at the bottom of the bin absorb odours.
- Place paper or old newspapers beneath the liner to catch any escaping moisture.
- Do not position the kitchen bin directly beside a radiator, as heat speeds up decomposition.
- Leave the lid open briefly on a regular basis when the liner has been removed, allowing the bin to dry out.
If you wish, after cleaning you can put a few drops of essential oil onto a piece of kitchen roll and place it underneath the liner. This only masks odours and is not a substitute for proper cleaning, but it can make everyday use more pleasant.
Hygiene: why the kitchen bin deserves more attention
The kitchen bin is one of the few places in the kitchen where almost everything deposited is potentially contaminated. Meat juices, raw vegetables, cheese remnants and mouldy food all mix together there. Anyone who changes the liner with bare hands and does not wash them immediately afterwards may spread germs elsewhere.
Using the bin more consciously therefore not only reduces the unpleasantness factor, but may also help prevent infections. Brief handwashing after taking out the rubbish, a weekly cleaning routine and some attention to damp waste are enough to turn the kitchen's biggest problem area into an unobtrusive everyday helper.









Comments
No comments yet. Be the first to comment!
Leave a Comment