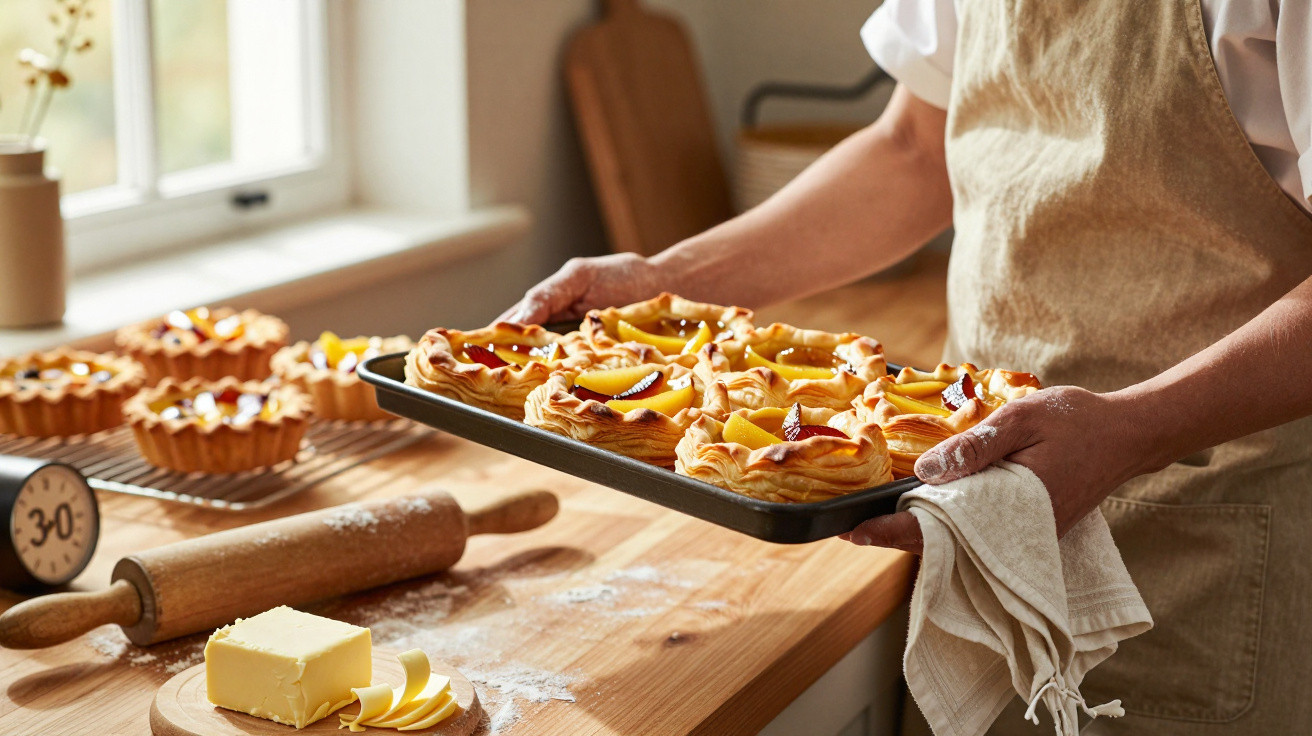
It is 6.40 pm, the oven is heating up, and the thought of a thin apple tart has appeared just as you were planning to serve something simple. There is butter in the fridge, a little flour in the cupboard, and that very French desire for crisp pastry without spending the entire evening making complicated turns on the worktop. We all know the moment: shop-bought puff pastry is missing precisely when guests are due in an hour. The good news is that a genuinely quick homemade version exists. It does not require endless resting times or professional pastry-making moves that are impossible to recreate at home. Above all, it needs cold ingredients, a little organisation and the willingness to leave a few pieces of butter visible. That is where everything happens.
Quick puff pastry: the small miracle of cold butter
This speedy method is built around a reassuringly simple idea: rather than enclosing one large slab of butter inside a perfectly smooth dough, you mix pieces of very cold butter straight into the flour. As it bakes, those pieces melt and release steam, producing the delicate crisp layers expected from puff pastry. The technique may seem less refined than a pastry chef’s approach, yet the result is often surprising from the very first tart. The secret is not visual perfection. It is the contrast between cold dough and a properly hot oven.
For pastry to line a 26 to 28 cm tart tin, allow 250 g flour, 200 g very cold unsalted butter, 120 ml iced water and a pinch of salt. In many kitchens, it takes 15 minutes to make, followed by 15 minutes in the fridge while you prepare the filling. One reader, who makes apple turnovers every Sunday, said she stopped buying ready-rolled pastry after comparing both versions at the table: her children noticed the crispness before they even knew the pastry was homemade.
This is not quite traditional puff pastry, which calls for several turns, resting periods and a degree of patience. It belongs to the family known as “quick” or “simplified inverted” puff pastry, a technique valued when time is short. Its layers can be less even and slightly more rustic, but they bring an irresistible texture with every bite. A pastry that is a little imperfect can be far more generous than one that looks flawless but lacks flavour. Let us be honest: nobody really makes the classic version every day.
The 30-minute method that transforms evening tarts
First, cut the butter into small cubes of roughly 1 cm, then put it in the freezer for 10 minutes along with the mixing bowl and flour if your kitchen is warm. Combine the flour and salt, add the butter, then quickly flatten the cubes between your fingers without turning them into crumbs. Add the iced water in two additions, using only enough to bring the dough together. Roll it into a rectangle on a lightly floured surface, fold it into thirds like a letter, turn it a quarter turn and repeat once. A 15-minute chill is usually enough before using it.
The most common mistake is overworking the dough in an attempt to make it completely even. The instinct is understandable: the butter pieces look untidy, almost alarming. Yet these are what will create the steam pockets and flaky layers. If the butter starts to soften or stick to the rolling pin, stop and return the dough to the fridge for five to 10 minutes. There is no point forcing it. A warm kitchen, warm hands or pressing too hard with the rolling pin: these small details can quickly turn promising dough into a denser tart base.
When rolling it out, aim for a thickness of 3 to 4 mm, and prick the base only if your filling is especially wet. For a galette, savoury twists or turnovers, leave the dough unpierced so it can rise freely. An oven preheated to 200 °C makes a genuine difference: strong heat sets the butter before it can escape.
“The butter must stay cold until the very last minute: it is what creates the layers in the oven.”
- Use iced water, not merely cold water.
- Flour the work surface sparingly, so the dough does not become tough.
- Brush the edges with egg, never the cut sides, so that you do not seal the layers together.
- Wait a few minutes before slicing a tart straight from the oven.
A pastry-chef result without pretending to be a pastry chef
The real satisfaction comes when it is time to cut into it. You hear that gentle crackle, the knife passes through golden pastry, and fine layers appear beneath apple compote, goat’s cheese or a simple scattering of sugar. This approach is not intended to replace the expertise of an artisan who works puff pastry over several hours. It offers something different: the freedom to make a homemade tart on a Wednesday evening without planning ahead the day before. That freedom is rather precious.
There are still countless ways to make the recipe your own. A spoonful of sugar in the dough suits desserts, a few cumin seeds work with a cheese filling, and a little cider vinegar in the water can help keep the texture tender. Not every attempt will turn out exactly alike, which is part of homemade cooking’s appeal. The pastry may rise more one day and be more crumbly the next: gradually, you learn to recognise the butter, the conditions in your kitchen and the strength of your oven.
Above all, this quick puff pastry encourages you to cook without waiting for the perfect occasion. It can become an improvised tomato and mustard tart, palmiers for an afternoon snack, a comforting pie or little chocolate squares tucked into a tin. Loved ones do not always expect faultless technique; they often remember the smell of warm butter, the dish placed in the middle of the table and the sense that someone made time. Sharing your first homemade puff pastry, even if it is slightly wonky, can sometimes make someone else want to try their own.
| Key point | Detail | Added value for the reader |
|---|---|---|
| Very cold butter | Use 200 g butter cut into cubes, then chill it for a few minutes before mixing. The pieces must remain visible in the dough. | They melt in the oven and create airy layers, without the many turns required for traditional puff pastry. |
| Two quick turns | Roll the dough into a rectangle, fold it into thirds, turn it a quarter turn and repeat the process once before chilling. | This straightforward action distributes the butter and produces rustic, crisp and highly convincing puff pastry in 30 minutes. |
| High-heat baking | Bake at 200 °C in an oven that is already hot, ideally on a preheated baking tray for tarts and turnovers. | The pastry rises better, browns faster and avoids the soggy result that can spoil an otherwise successful filling. |









Comments
No comments yet. Be the first to comment!
Leave a Comment