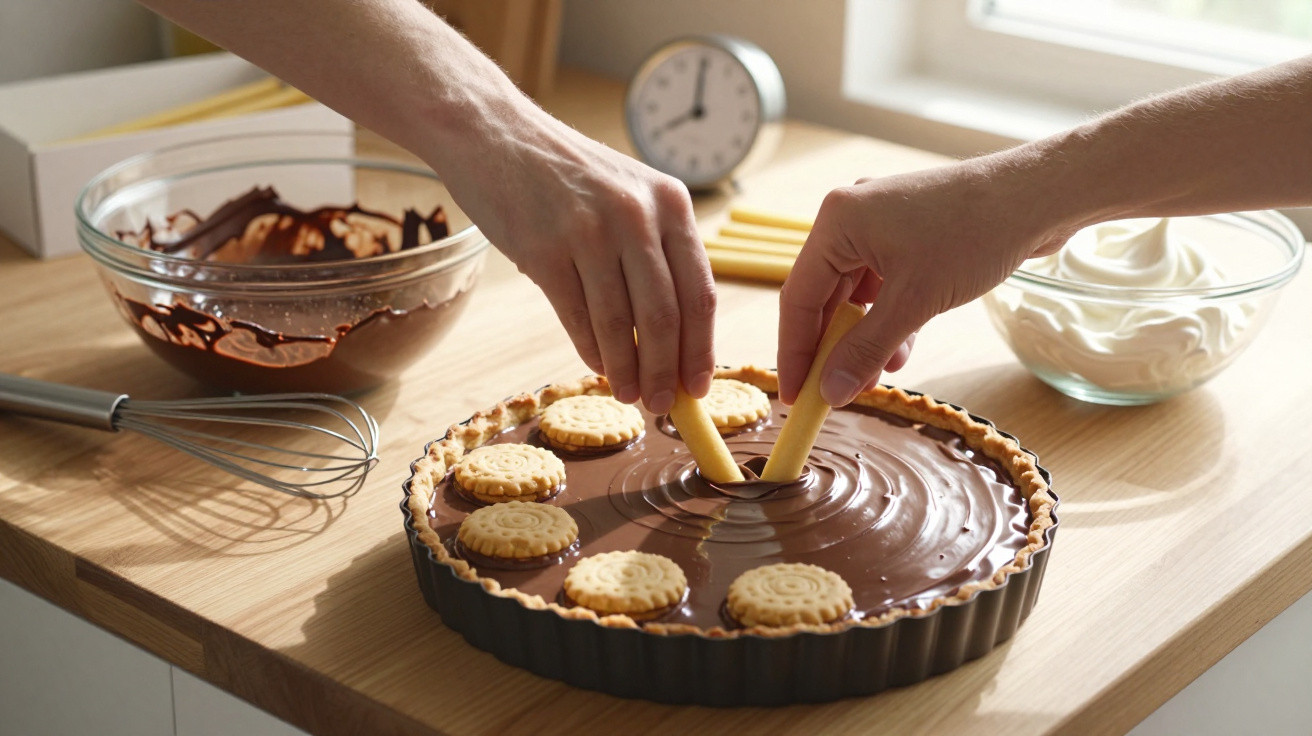
This is exactly where a no-bake chocolate mousse cake shines: it relies on chilling rather than heat, and layering rather than stressful cake-making – delivering a dessert that looks as though it came from a pâtissier but is simple to make.
Why this chocolate mousse cake is ideal on busy days
Anyone who has baked a cake knows the routine: setting a timer, testing it with a skewer and anxiously peering through the oven door. With this no-bake chocolate cake, none of that is necessary. The oven stays off, the kitchen remains reasonably tidy, and the fridge ultimately handles the most delicate part of the job.
The basic idea: an airy dark chocolate mousse paired with ladyfingers briefly dipped in coffee, which become creamy without falling apart.
The result is almost a cross between mousse au chocolat and tiramisu. Rather than baking a sponge, you assemble layers. That takes away much of the pressure: nothing can burn and nothing can fail to rise. You remain in control because every stage is visible and can be adjusted if needed.
There is still a little excitement involved, as the mousse depends entirely on the air whipped into it. Stir too vigorously and the structure collapses. Work calmly, however, and you will achieve a texture that holds neatly when sliced before melting instantly in the mouth.
The base: ingredients that make this chocolate mousse cake work
For 4 to 6 portions, the shopping list is pleasantly short. The quality of each ingredient matters more here than the quantity used.
- 200 g dark chocolate (around 70% cocoa)
- 4 fresh eggs
- 40 g caster sugar (or 25 g for a less sweet version)
- 200 ml cold double cream (at least 30% fat)
- 200 g ladyfingers
- 30 g unsweetened cocoa powder
- 2 tsp instant coffee
- 1 tsp vanilla extract
- 1 pinch of salt
It is worth pausing briefly over the chocolate choice: around 70% cocoa delivers depth without becoming overly bitter. If you prefer a particularly intense flavour, choose 72–75%. For a gentler mousse, 60–65% works well when paired with a little extra vanilla.
For a small trick that adds extra richness, replace around 50 ml of the cream with mascarpone. It gives the mousse a slightly firmer, more dessert-like texture, while keeping it creamy provided you fold it through carefully.
Tools that determine whether the mousse is airy or dense
In theory, this cake can be made entirely by hand. In practice, a hand mixer saves considerable time – and, above all, effort. More important than the appliance itself, though, is the condition of your bowls.
Clean, grease-free bowls are the best defence against failed egg whites and, consequently, heavy, dense mousse.
You will find the following useful:
- A heatproof bowl for a bain-marie
- A saucepan of gently simmering water
- A hand mixer or stand mixer
- A balloon whisk and flexible spatula
- A large mixing bowl
- Cling film
- Either a cake tin or several dessert glasses
One often-overlooked tip: put the cream and mixing bowl in the fridge for around ten minutes before whipping. Cold cream thickens more quickly and is less likely to split. This saves valuable time just when the melted chocolate is waiting.
Step by step to chocolate mousse without the panic
Melt the chocolate and prepare the base
The first stage looks straightforward, but it has a major impact: melting the chocolate. Melt it over a bain-marie, in a metal bowl set over gently simmering water. The bowl must not touch the water, otherwise the heat will be too direct.
Once it has melted, remove the bowl from the pan and allow the mixture to cool for about five minutes. It should still be fluid, but no longer hot. This is the point to add the egg yolks and vanilla extract. Stir until smooth, creating a thick, glossy base. If you rush this stage while the chocolate is still too hot, the yolks will curdle and leave tiny grains in the cream.
Whip the egg whites and gradually add the sugar
Separate the eggs with care. Even a drop of yolk in the whites can weaken the meringue. Place the egg whites in a completely clean, grease-free bowl, add the pinch of salt and whisk until white and foamy. Add the sugar in three portions, continuing to whisk between each addition.
Stop as soon as firm peaks form and no longer flop over. Whisking for too long makes the mixture dry and brittle, which makes it harder to combine later with the chocolate.
Whip the cream and combine everything lightly
Whip the chilled cream separately. It should be thick but still slightly creamy. Cream whipped too stiffly behaves like a separate component when folded in and is more likely to break out of the mousse.
Now comes the most important stage: combining the mixtures. First, stir a small portion of the whipped egg whites into the chocolate base. This loosens the mixture slightly and reduces the temperature difference. Then gently fold in the remaining egg whites, using broad, calm movements from the bottom upwards.
Only once this is largely combined should you add the cream, folding it in just as carefully. Every hurried stirring motion forces out the air you have worked so hard to incorporate.
Layering ladyfingers so they turn creamy, not soggy
For the coffee layer, dissolve the instant coffee in around four tablespoons of warm water. Leave it briefly so the liquid can cool a little. Then bring in the ladyfingers.
The key is the dipping time: around one second on each side is enough to achieve the perfect balance of bite and creaminess.
A brief contact with the coffee liquid is entirely sufficient. Dip the biscuits for too long and they soak it up like a sponge, leaving the base mushy and heavy.
First, arrange a layer of dipped ladyfingers in your tin or dessert glasses. Add a generous dollop of mousse, then repeat the layers once more. Always finish with mousse, so you have a smooth surface for the cocoa powder later.
Finally, cover everything with cling film and chill the cake for at least four hours, preferably eight. This resting time allows the mousse to set and the flavours to meld more harmoniously. Just before serving, sift over the unsweetened cocoa powder. This keeps the surface velvety and dry, without lumps.
Common problems and how to avoid them
The most frequent mishap involves the egg whites. Even a small trace of grease on the beaters or bowl weakens their structure. If you want to be especially certain, briefly rinse the equipment with hot water, dry it thoroughly and only then begin.
Too much liquid in the ladyfingers is another pitfall. If you would like to use alcohol, such as amaretto or orange liqueur, stir it into the coffee mixture but use it sparingly. One tablespoon is usually enough for a subtle flavour. More liquid quickly makes the biscuits soft to the point of soupiness.
| Problem | Possible cause | Quick solution |
|---|---|---|
| Mousse becomes heavy | Stirred too vigorously, egg whites overwhipped | Fold more slowly next time, whip egg whites only to soft peaks |
| Biscuits are soggy | Dipped in coffee for too long, too much liqueur | Shorten the dipping time, reduce the amount of liquid |
| Chocolate goes lumpy | Egg yolks added while it was too hot | Let the chocolate cool for longer and check the temperature first |
How to adapt the recipe for different guests
If children are eating with you, or you are avoiding alcohol entirely, simply use coffee on its own or replace it with cocoa. The flavour will be milder, but still rounded and richly chocolatey. For guests who enjoy stronger flavours, darker chocolate and a little extra cocoa powder can quickly add more depth.
It becomes particularly interesting when you combine textures. A crunchy layer of chopped toasted nuts between the mousse layers adds bite. Dark chocolate fans can scatter cocoa nibs over the top. The same basic recipe then becomes an almost entirely new cake.
What “mousse” really means – and why patience pays off
At its core, the term “mousse” simply describes a cream that gains volume from incorporated air. Whipped egg whites, whipped cream or both together create a light framework. Chocolate, sugar and egg yolks provide flavour and structure. The cold of the fridge stabilises this framework without drying it out.
If you treat the process as a small experiment, you will automatically plan more effectively: warm and cold ingredients should gradually come closer in temperature, fat and water combine only when the temperature is right, and air cannot be whipped in indefinitely but needs time to settle. The short pauses between melting, whipping and chilling are not an inconvenience; they are part of the system.
In everyday life, this knowledge is easy to use. The mousse cake is an excellent “emergency dessert” for unexpected visitors: everything is prepared in around 20 minutes, and the fridge does the rest while you take care of guests, the main course or simply enjoy a quiet moment on the sofa. At the same time, this recipe is a good introduction to more demanding desserts, as it teaches technique without immediately risking burnt cake layers or cracked sponges.










Comments
No comments yet. Be the first to comment!
Leave a Comment