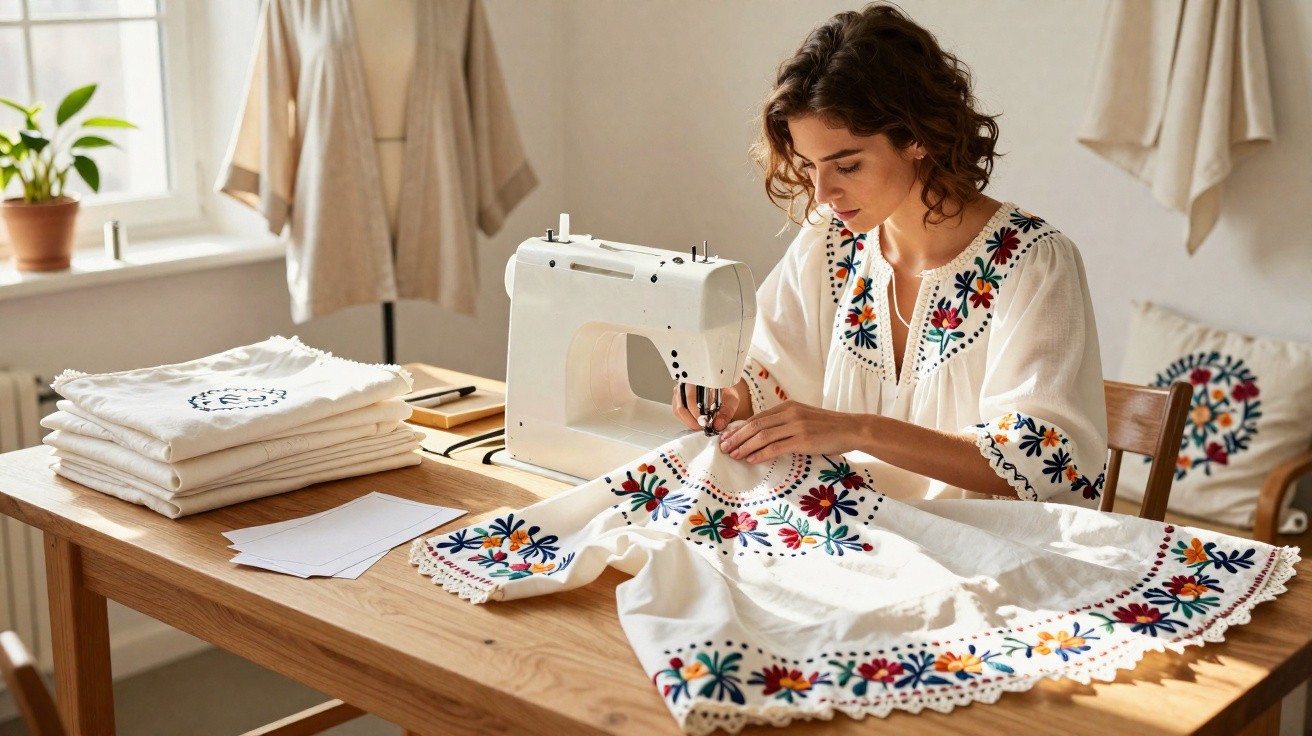
Many households know the situation: a neatly folded pile of heirlooms sits in the linen cupboard, beautiful yet apparently without a purpose. Old embroidered bed sheets in particular often seem too precious to throw away, but too delicate for everyday use. In fact, they are a treasure trove for fashion and interiors – provided you use a clever sewing technique to turn them into new favourite pieces.
Why old embroidered bed sheets are so sought after today
Anyone looking at the mountains of textiles across Germany and Europe quickly sees how increasingly absurd it is to discard fabric. Hundreds of thousands of tonnes of textiles are thrown away every year, even though some are high-quality and built to last. Heirloom pieces made from linen or linen blends fall squarely into this category, making them ideal for creative upcycling.
“Old embroidered bed sheets are often made from densely woven linen or linen blends, withstand high washing temperatures and become softer with every wash.”
Traditional trousseau sheets, in particular, were made from hard-wearing materials. They are often:
- made from pure linen or a linen-cotton blend
- heavyweight, meaning particularly dense and strong
- woven with long fibres that rarely pill and drape beautifully
- finished with delicate details such as monograms, drawn-thread work, scalloped edges or broderie anglaise
Together, these qualities create a combination that is now usually found only in the luxury section of department stores. If you have one of these sheets tucked away, you essentially own the equivalent of half a roll of fabric – simply in a vintage format.
Preparing old sheets for a new life
Before reaching for the scissors, it is worth giving the fabric a thorough workshop inspection. This is the only way to reveal the full potential of an old piece.
Wash, brighten and inspect
Start by machine-washing the sheet to remove dust, storage odours and any stains. Then measure its length and width again, as old natural fibres may shrink slightly after their first hot wash.
If the fabric has yellowed, there are two straightforward household methods to try:
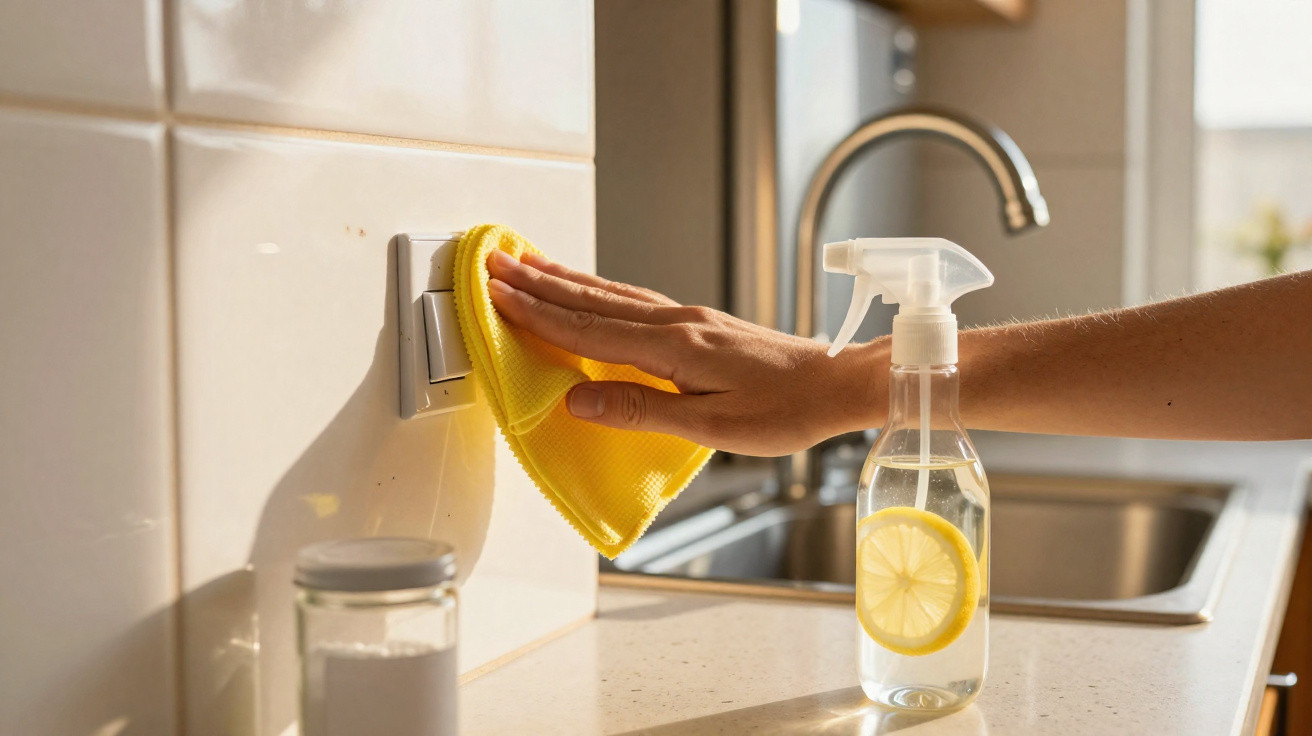
- Hot water with lemon juice: a gentle brightening treatment that is kind to more delicate sheets.
- Washing soda or oxygen bleach, such as percarbonate: a much stronger option at a minimum of 60°C.
Chlorine bleach is best avoided because it damages the fibres and shortens the fabric’s lifespan. Once washed, a sheet often seems to have “woken up”: it feels firmer, brighter and more flexible.
Iron flat and mark the treasures
Next, press the sheet as flat as possible, without creases. It may not sound exciting, but this is when you begin planning the design of your future pieces. Smoothing the fabric makes every special detail immediately visible:
- monograms, initials and family letters
- broderie anglaise borders
- drawn-thread work bands
- curved edges and scalloped finishes
Mark these areas with tailor’s chalk. Leave the large, unembroidered sections clear, as these will later become the main fabric for blouses, dresses, kimonos or home textiles. Crucially, do not cut anything at this stage. Design first, scissors second – that is how you avoid costly mistakes.
The clever sewing technique: making embroidery the focal point
The real trick is not about complicated patterns; it is about positioning the embroidery perfectly. That is what makes old sheets look like designer fabric.
“The simple rule: never cut through embroidery; instead, treat it as a separate piece of fabric and deliberately ‘showcase’ it.”
Use embroidery as an inset, not an accident
In practice, this means:
- Place the pattern piece on the fabric, then shift it so that the monogram or border falls in a highly visible position, such as on a breast pocket, the back panel or the hem of a skirt.
- Cut generously around the embroidery, including ample seam allowance, so it can be sewn in like an ordinary pattern piece.
- Reinforce delicate areas from the reverse with lightweight interfacing, then finish the raw edges to prevent fraying.
Here is a practical example: a lightweight mid-season jacket can be made from a three-metre sheet with a large embroidered letter at its centre. The sewer cuts out the monogram with plenty of surrounding fabric and positions it precisely on a patch breast pocket. The unembroidered sections form the rest of the jacket. The finished result looks like a one-off from a small atelier – complete with family history.
Boho blouse, kimono or dress: clothing with a story
This technique works especially well for airy garments. Popular projects include:
- Blouses with drawn-thread work sleeves: the delicate openwork runs directly along the forearm.
- Kimono jackets: broderie anglaise frames the back panel or follows the hem.
- Summer dresses: a large monogram decorates the front centre or a pocket.
Combining a plain base fabric with striking vintage details generally makes the finished garment look more expensive than it actually was. Depending on the cut and the rest of your wardrobe, the style sits somewhere between country-house, boho and minimalist.
Turning sheets into interior highlights
Not everyone wants to sew a garment straight away. Home projects are often easier to tackle, while creating an equally impressive effect.
Charming bedding
A classic option is a duvet cover made from two old sheets. The method is straightforward:
- Lay two sheets exactly on top of one another, with their right sides facing inwards.
- Sew three sides fully closed.
- On the fourth side, sew approximately 20 centimetres closed at both the left and right edges, leaving the centre open.
- Add buttons and buttonholes, or press studs, at the opening.
Place the embroidery deliberately around the edge of the duvet cover or near its top so it remains visible when the bed is made. The result resembles country-house hotel bedding, only more personal.
Nostalgic table linen and cushions
The remaining pieces of fabric can quickly become stylish accessories:
- Tablecloths and napkins: position the monogram or border in the corners so plates do not hide it.
- Cushion covers: place the embroidery centrally or slightly to one side, depending on the format.
- Tea towels: drawn-thread work along the edges gives them a more refined appearance.
- Curtains: use the existing hem as a rod pocket, placing the embroidery at hip height or along the lower edge.
A padded headboard covered in the sheets or simple white curtains also work beautifully with old floorboards, vintage furniture or modern, pared-back rooms that benefit from a softer contrast.
How to plan your sewing project without frustration
When working with heirlooms, you naturally want to avoid mistakes. A few basic rules will help you get the most from the fabric.
- Check the fabric condition: put thin patches or small tears in less hard-wearing areas, such as the upper back of a garment or decorative cushions.
- Position pattern pieces economically: cut the large pieces first, then fit smaller elements such as facings or pockets into the remaining spaces.
- Use a test piece: try seams and stitches on a small offcut first – old linen behaves differently from modern cotton.
- Choose fine needles and good-quality thread: this helps prevent holes and puckering.
Beginners especially benefit from simple, straight-edged projects such as cushions, table runners or easy wrap skirts. Those with more experience can try blouses with inserted embroidery or relaxed shirt dresses.
What to know about materials, durability and care
Terms such as “linen blend” and “drawn-thread work” may sound old-fashioned at first, but they are easy to understand in everyday terms. A linen blend is fabric made from linen and cotton. It combines linen’s durability with cotton’s slightly softer feel. This makes it particularly suitable for frequently used items such as table linen or cushions.
For care, many of these fabrics can easily cope with a 60°C machine wash. For garments, 40°C is often sufficient to protect their shape and embroidery. A gentle spin cycle followed by air-drying prevents stubborn creases and extends the life of the seams.
When working with delicate monograms or open broderie anglaise, use laundry bags or turn the garment inside out before washing it. It may seem like a small step, but it significantly reduces friction against the drum.
Why the effort is genuinely worthwhile
Beyond the sustainability aspect, this technique has another appeal: every piece carries a story. Your grandmother’s monogram on a new blouse, or your great-grandfather’s drawn-thread work on a tablecloth, adds an emotional layer that cannot be bought.
It also saves real money: one large sheet can often produce several high-quality items that would cost many times more in the shops. On top of that, nobody else will wear exactly the same jacket, have exactly the same cushion on their sofa or lay exactly the same tablecloth.
Once you have transformed an old embroidered bed sheet into a modern favourite, you will never look at your linen cupboard in quite the same way again. What once seemed like “old stuff” suddenly becomes a material with a luxury feel – and that is precisely the appeal of this sewing idea.





Comments
No comments yet. Be the first to comment!
Leave a Comment