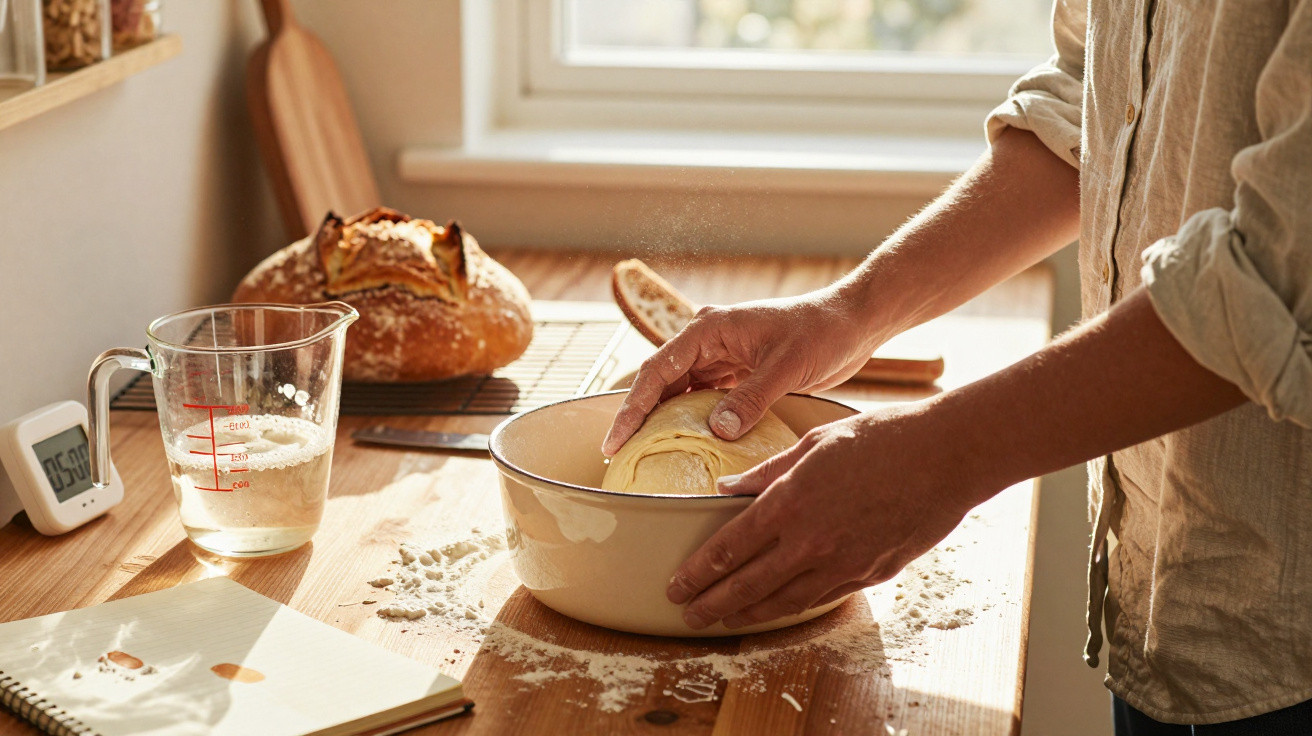
It is 6.40 pm, the day has disappeared far too quickly, and the smell of dinner does not quite erase one small frustration: there is no bread left. In the kitchen, a bag of flour sits at the back of the cupboard beside a jar of yeast forgotten for weeks. This is often when the thought of homemade bread appears, immediately followed by the same reservation: “I have neither a mixer, nor the time, nor the patience to knead for twenty minutes.” The welcome surprise is that a loaf with a golden crust and soft crumb can come from a few almost ridiculously simple actions. No baker’s technique and no aching arms. Just time, while the dough does the work for you. The result can genuinely transform the feel of a meal.
No-knead bread, a recipe made for ordinary kitchens
We all know the moment when a recipe sounds too good to be true: four ingredients, five minutes of preparation, then a loaf that crackles as it leaves the oven. The no-knead method is based on a very straightforward principle: mix briefly, leave it for a long time, and let the dough build its own structure. The yeast works slowly, water hydrates the flour, and the much-talked-about gluten networks develop without human effort. Patience takes the place of muscle. There is something reassuring about this recipe because it does not require talent; above all, it asks you not to interfere with the dough every ten minutes.
The now-iconic version was popularised in the United States in the mid-2000s by baker Jim Lahey, before food writer Mark Bittman gave it wide exposure in the New York Times. Within a few years, millions of readers had tried this sticky dough, baked in a cast-iron casserole dish, captivated by its bakery-style appearance. Photographs spread across blogs and then social media: large air pockets, a thick crust, crumbs over the Sunday table. A family can make the dough on Friday evening and serve bread that is still warm on Saturday lunchtime. This kind of small luxury stays in the memory.
There is nothing magical about the secret, even if a first attempt can feel that way. A highly hydrated dough is difficult to shape, yet it allows steam to form beautiful bubbles as it bakes; the long fermentation also creates a slightly more complex flavour. The hot casserole dish acts as a miniature baker’s oven: its lid traps moisture at first, then is removed to brown the crust. The bread mostly makes itself while you forget about it. Honestly, nobody really does this every day, but the method makes the project easy enough to bring back to the table regularly.
The five-minute recipe: simple steps, no stress and no flour everywhere
For one generously sized round loaf, put 375 grams of T55 or T65 wheat flour, 8 grams of salt, 1 gram of dried baker’s yeast-roughly one third of a teaspoon-and 300 millilitres of room-temperature water into a large mixing bowl. Stir with a wooden spoon until no dry flour remains; this takes two or three minutes, no more. Cover the bowl with a plate, reusable wrap or a clean tea towel, then leave the dough to rest for 12 to 18 hours in a temperate room. The night before remains the most convenient time to start.
By the following day, the dough should be risen, supple and filled with small bubbles. Lightly flour the work surface, gently scrape it out, fold the edges towards the middle two or three times, then let it recover for one hour on a floured tea towel. Many beginners add too much flour because the texture sticks to their fingers, which is understandable: wet dough always seems suspicious. Yet this very moisture is what produces a light crumb. Use a dough scraper or two spoons if necessary; your hands do not have to do everything.
Preheat the oven, with a lidded casserole dish inside-ideally cast iron-for 30 minutes at 230 °C. Transfer the dough to the scorching-hot dish, bake it covered for 30 minutes, then uncovered for 15 to 20 minutes, until the crust is golden brown and sounds hollow when tapped.
“The best homemade bread is not the loaf that impresses everyone else: it is the one you dare to make again without worry.”
- Flour: T65 often creates a more rustic crumb, while T55 gives a softer result.
- Resting time: 12 hours is often enough; 18 hours intensifies the flavours.
- Baking: let the loaf cool for at least 45 minutes, otherwise the crumb may seem damp.
An imperfect, living loaf that is more rewarding than it looks
The first loaf may turn out slightly flat, stick to the tea towel, or have a paler crust than expected. None of this is a disaster: room temperature, flour type, the age of the yeast and even oven accuracy all influence the outcome. Homemade bread always carries something of the kitchen in which it was made, and that may be what makes it so appealing. After two or three batches, you quickly learn the right water level, the resting time that suits your routine, and that particular smell which tells you the crust is ready. The process becomes familiar, almost calming.
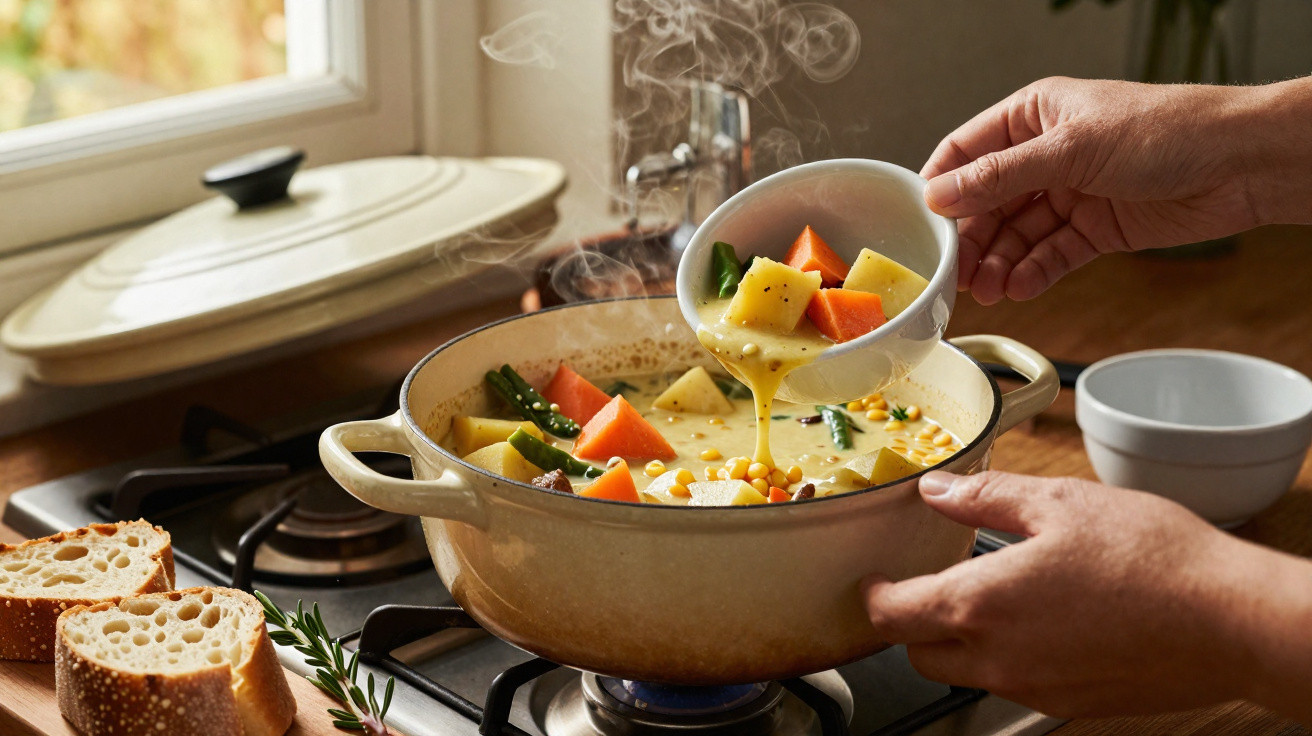
This recipe also welcomes whatever you fancy without turning dinner into a major undertaking. A handful of walnuts, sunflower seeds, well-drained olives or a few dried herbs can be added to the initial mix. Wholemeal flours need a little extra water and create a denser loaf, ideal with cheese or soup. Sometimes, simply placing a loaf in the middle of the table is enough to slow the conversation and extend the meal. You can share a batch, compare crusts, or tell the story of a failed loaf with a little pride. It is a very simple pleasure, but one that holds up well during overly busy weeks.
| Essential point | Detail | Added value for the reader |
|---|---|---|
| The initial mix | 375 g of flour, 300 ml of water, 8 g of salt and a very small amount of yeast are all that is needed. The dough is deliberately wet and does not need to be smooth or attractive before resting. | An accessible preparation that can be made in minutes with a mixing bowl and spoon. No mixer, no technical kneading and no specialist baking equipment required. |
| Slow fermentation | Between 12 and 18 hours at room temperature lets the dough rise gently. Visible bubbles on the surface show that the yeast has done its job and that the flavours have had time to develop. | A deeper flavour and airy crumb without physical effort. The resting period easily fits around an evening, a night or a day working from home. |
| Baking in a casserole dish | The preheated casserole dish, closed at the beginning and opened towards the end of baking, keeps steam around the dough. This moisture encourages the loaf to rise before a crisp crust forms. | A result that visually resembles artisan bread, even in a domestic oven. One simple casserole dish radically improves baking consistency. |










Comments
No comments yet. Be the first to comment!
Leave a Comment