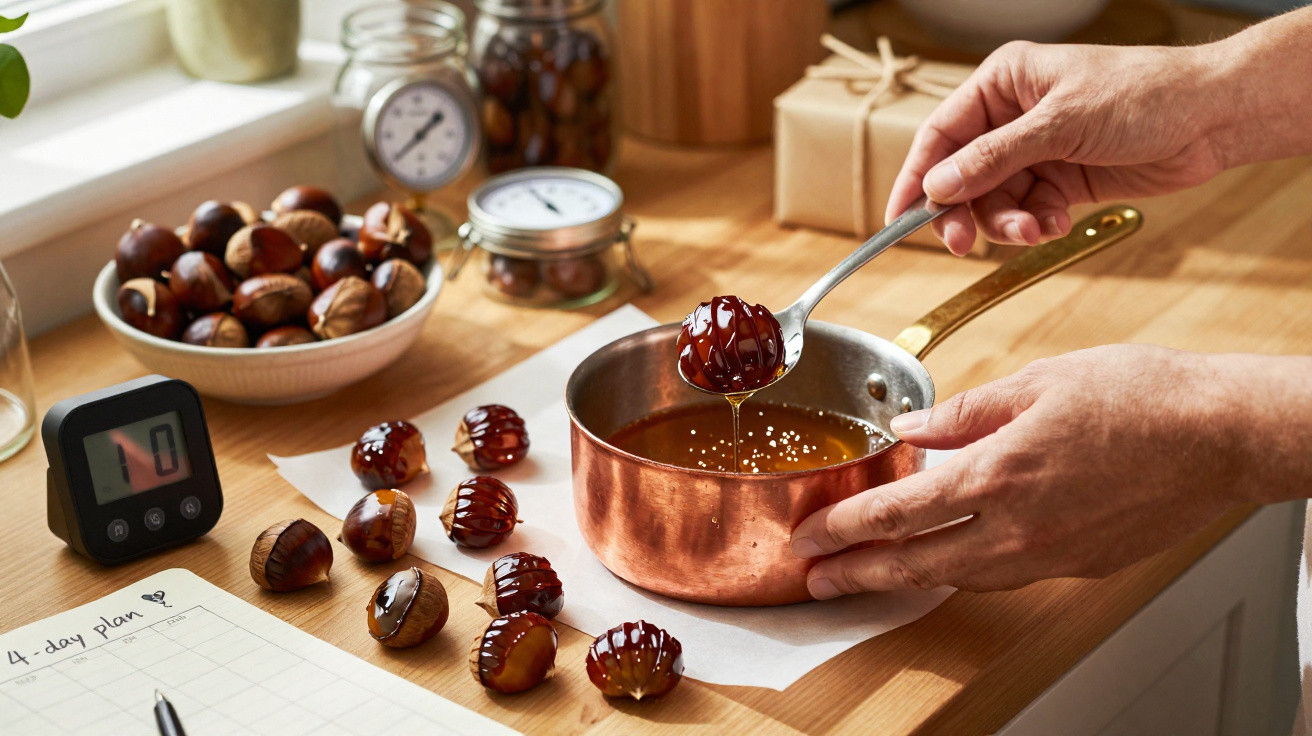
Chestnuts seldom take centre stage, but this winter they are quietly reappearing in bakery displays and on social media feeds everywhere.
In France and Italy, one festive sweet is enjoying a fresh online moment: marrons glacés, the lustrous, sugar-coated chestnuts resembling small amber gems. Food creators say they can now be prepared more quickly at home, without specialist equipment or a wait of several weeks.
What are marrons glacés exactly?
Marrons glacés are whole chestnuts that are cooked, candied in sugar syrup and finished with a light glaze to give them their sheen. They are sweet without being sickly, with a soft, almost velvety consistency. Traditionally, high-end confectioners made them in small batches and sold them in metal tins at Christmas.
Over recent months, UK and US searches for candied chestnuts have climbed, fuelled by TikTok clips in which home cooks turn bags of autumn chestnuts into polished gifts. Although supermarkets sell vacuum-packed chestnuts, more people are seeking the slower version, with the proper depth of flavour created by repeated candying.
The new wave of “quick” marrons glacés keeps the classic flavour, but trims days off the process and uses basic kitchen tools.
How the modern “fast” method works
A traditional method may take a week or longer. The revised home approach uses the same principles while shortening the stages and reducing cooling periods. Its purpose remains unchanged: to draw sugar deep into the chestnut without damaging its fragile form.
Choosing suitable chestnuts for marrons glacés
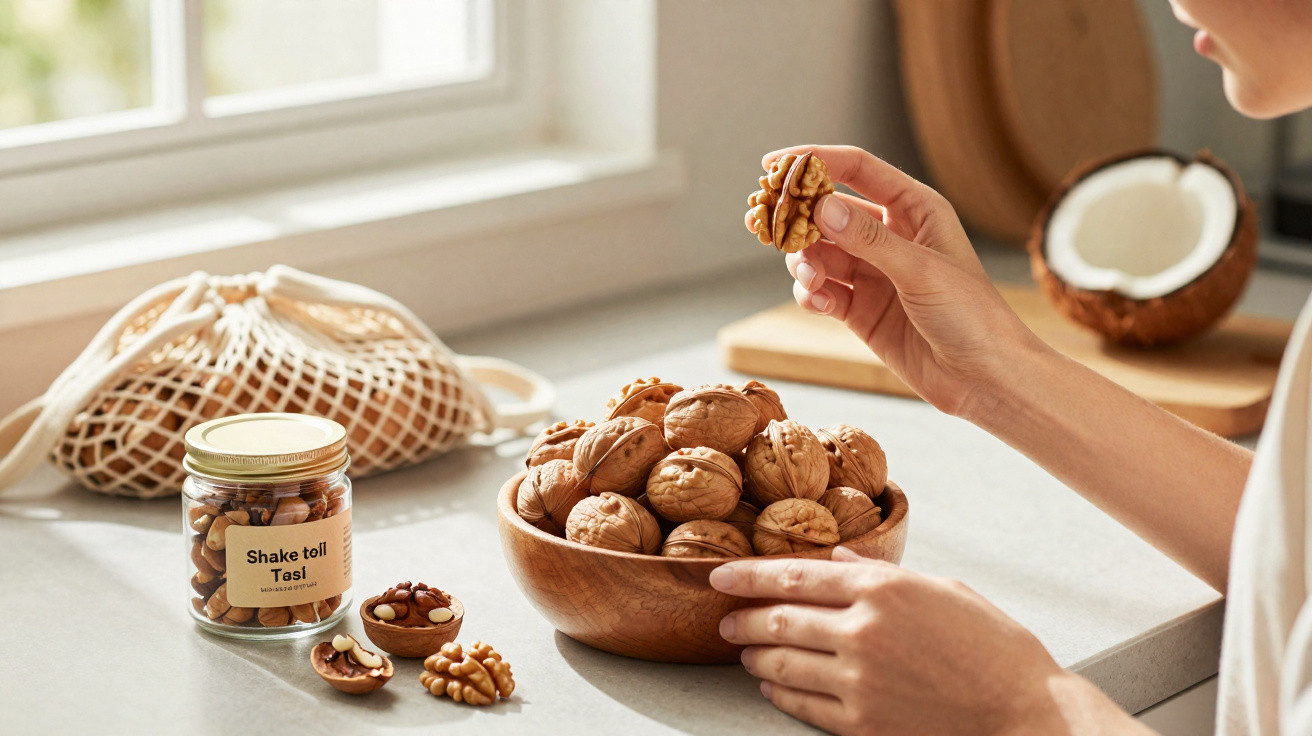
Large, firm chestnuts are the starting point for good marrons glacés. Small, shrivelled or pierced nuts tend to disintegrate while cooking. Specialist food shops may describe premium nuts as “marrons” rather than ordinary chestnuts; this usually denotes a rounder nut with fewer internal divisions.
- Choose chestnuts that feel weighty for their size.
- Steer clear of nuts with mould, holes or a rattling noise when shaken.
- Use fresh chestnuts, as older ones become dry and split during simmering.
Most recipes recommend cutting a cross into the rounded side of each shell. It is a small but important task: it stops the chestnuts bursting in hot water and makes them easier to peel afterwards.
Pre-cooking and peeling with less frustration
Peeling is the point at which many home cooks lose patience with chestnuts. The “record time” technique uses a brief pre-boil to release both the tough shell and the thin inner skin.
The method generally follows this sequence:
| Step | Action | Why it matters |
|---|---|---|
| 1 | Score each chestnut with a cross | Prevents bursting and eases peeling |
| 2 | Boil for about 5 minutes | Softens shell and inner skin |
| 3 | Drain and peel while still warm | Shell slips off more easily |
Work carefully and in small batches to avoid allowing the nuts to cool fully. Chestnuts peel more neatly while warm. The more whole nuts you preserve at this stage, the better your finished marrons glacés will appear in paper cases or gift boxes.
The heart of the method: controlled candying
After peeling, the chestnuts require a gentle simmer until they are tender rather than soft and mushy. Home cooks often check one with the point of a knife: it should slide in readily, but the chestnut must still retain its shape.
The next stage is a sugar syrup. Most current guides use a straightforward mixture of equal weights of sugar and water, sometimes with vanilla added. Some food writers recommend a strip of orange peel or a dash of rum for a warmer, more adult flavour.
Candying is less about high technique and more about patience: repeated short baths in hot syrup, followed by long rests as the sugar slowly creeps inside the nut.
The sped-up home process still follows this pattern, but shortens the resting intervals and the number of days involved. Rather than soaking for a complete week, many recipes now reduce the process to around four days, with one short simmer each day.
A four-day timetable for busy cooks
The newer fast-track outline generally runs as follows:
- Day 1: Cook the peeled chestnuts until tender. Make the syrup, simmer the chestnuts in it for a few minutes, then leave them in the pan overnight.
- Day 2: Remove the chestnuts, bring the syrup back to a gentle boil, return them to the pan, simmer briefly, cool and leave to rest again.
- Day 3: Repeat the warming and resting process, allowing additional sugar to travel into the middle of every nut.
- Day 4: Give the chestnuts one final warm soak, then drain them on a rack so the outside can dry a little.
The daily simmering periods are brief, helping to limit breakage. Extended pauses let sugar seep in slowly instead of being forced through by fierce heat. This gradual movement creates the characteristic marrons glacés texture: soft but not gritty, moist yet without syrup escaping.
Shine, texture and the final glaze
The chestnuts are already richly flavoured and aromatic once candied, and many home cooks finish there. In the classic version, however, they receive another coating: a thin glaze of icing sugar combined with a spoonful of the reserved syrup.
This glaze has several functions. It helps to seal the chestnut, provides a faint crunch once dry and intensifies the jewel-like appearance for which the sweet became known. A brief stint in a low oven sets the coating while avoiding browning.
A brief spell in gentle heat locks in the glaze; a few seconds too long can tip the sugar into caramel and dull the shine.
Temperature control is important at this point. Recipes commonly advise about 150°C for no more than a few minutes, watched continuously. As domestic ovens differ, many cooks trial the process on one or two chestnuts before placing a full tray inside.
Storage, gifting and the understated rise of “slow treats”
After cooling completely, candied chestnuts store well in an airtight container, preferably in a cool, dry cupboard. Homemade batches are generally at their best within a week, when the centre remains supple and the glaze stays delicate and crisp.
Food-trend observers view marrons glacés as part of a wider shift towards “slow treats”: modest portions, thoughtful techniques and recipes that feel calming rather than hurried. For many, making them becomes a seasonal ritual instead of a task, somewhere between baking a Christmas cake and stirring marmalade.
Why home cooks are choosing chestnuts now
A number of influences account for their return beyond continental Europe. Chestnut flour had already attracted interest in gluten-free baking, while roasted chestnuts are sold at street markets from London to New York. Social media completed the shift, with step-by-step videos making a process that once seemed like elite pâtisserie feel more approachable.
Nutritionally, chestnuts contain less fat than many nuts and have a mild, earthy sweetness. After candying, they can no longer be considered light food, but they still provide a different profile from rich chocolate truffles or caramel fudge.
Practical tips, pitfalls and variations to try
For anyone keen to attempt the technique, recipe testers repeatedly flag the same difficulties: chestnuts breaking in the pan, syrup crystallising and uneven results in texture. Several useful habits help to avoid most of them.
- Simmer gently rather than boiling vigorously to keep the chestnuts intact.
- Choose a wide pan so the chestnuts can lie in a single layer.
- Do not stir with a spoon; shake the pan softly instead.
- Should sugar crystals develop around the pan, brush them down using a damp pastry brush.
When the basic process becomes familiar, minor additions can provide variety. A piece of cinnamon bark in the syrup lends a gentle warmth. A teaspoon of dark rum or whisky added at the final stage gives a more adult note. Some pastry chefs coat half of every glazed chestnut in dark chocolate, contrasting glossy amber with matt brown.
The same candying principles work with other produce: quince cubes, strips of clementine peel and small pieces of pumpkin can all follow a comparable timetable. Many cooks begin with chestnuts before trying these alternatives, creating a homemade “confiserie” across several winter weekends.
For those interested in the science of sweetness, the method is a straightforward kitchen demonstration. Repeated warming and cooling allows sugar molecules to slowly replace water within plant cells. The structure becomes tender without collapsing, accounting for the distinctive bite: neither raw nor mushy, but gently held together by a web of crystallised sugar.







Comments
No comments yet. Be the first to comment!
Leave a Comment