Many households push spare bread into the freezer, cross their fingers and later face slices that are limp and rubbery. However, a low-key kitchen practice is reshaping this routine: a plastic-free, foil-free approach combining freezer storage with a hot oven to restore a genuinely crisp finish.
Why frozen bread turns sad – and how to stop it
Bread is more delicate than its appearance suggests. Its structure consists of starch, water and countless small air pockets. When newly baked, its crust remains dry and crunchy while moisture stays in the middle. Over time, that water moves into the crust and the starch firms up. Freezing slows this process, although it cannot prevent it completely.
When bread freezes gradually, it develops large ice crystals. These crystals damage the crumb’s fine structure. Once the loaf defrosts, water settles unevenly, making some areas dry and others unpleasantly chewy. This explains why one slice can seem cardboard-like while the next flexes like a sponge.
Good frozen bread comes down to three levers: how fast it freezes, how much air reaches it and how you reheat it.
Smaller domestic freezers are often only partly filled and opened repeatedly throughout the day. Each opening causes temperatures to fluctuate by several degrees, allowing ice crystals to repeatedly expand and contract. After several weeks, the effect becomes clear: aromas weaken, the crumb loses its shape and the crust no longer has its crunch.
Food scientists call these changes starch retrogradation and moisture migration: starch molecules rearrange themselves and force water out. Although the solution may sound scientific, the process itself is straightforward. It begins with slicing and cooling the bread properly, well before it goes back into the oven.
The freezer method with no plastic bags and no foil
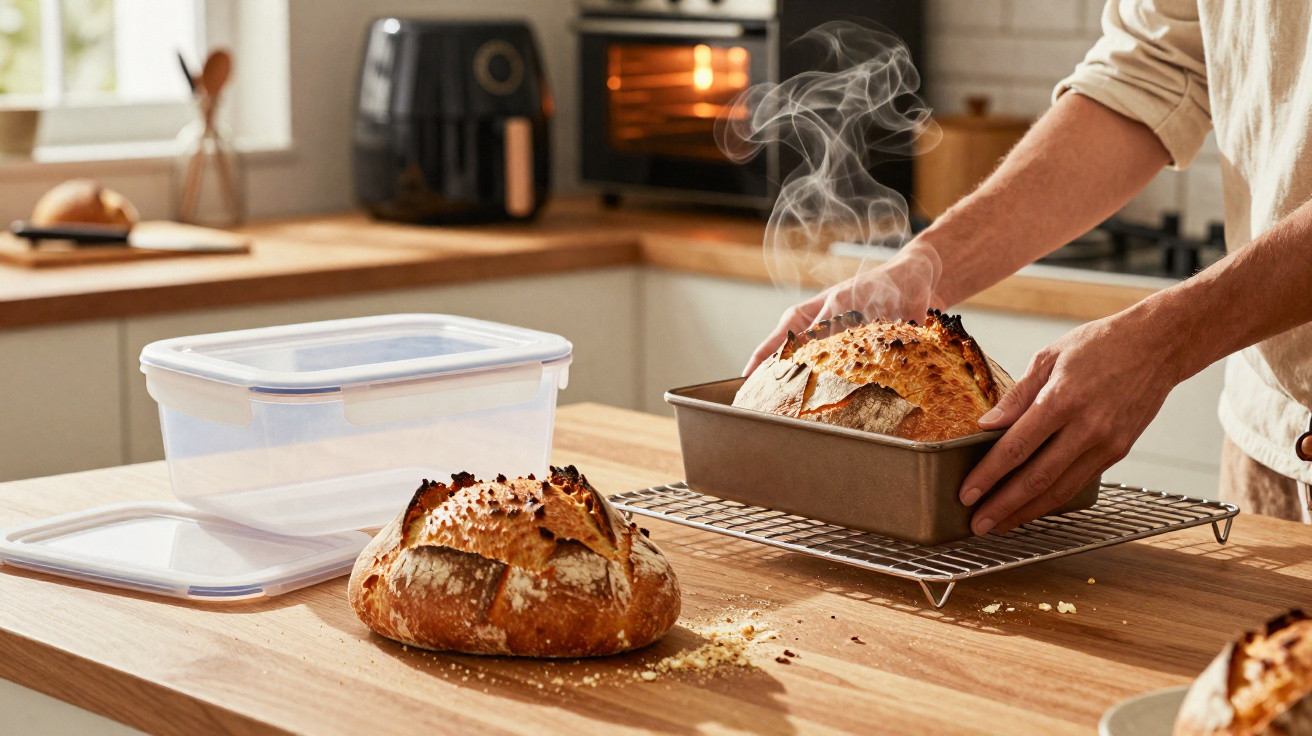
A method becoming more popular in European kitchens is remarkably uncomplicated: freeze bread uncovered first, then stack it in a rigid container. It requires no zip-lock bags or foil and creates considerably less waste.
Step-by-step: how to freeze bread so it crisps again
- Allow the loaf to cool completely before cutting it, letting steam escape rather than settle on the crust.
- Slice bread to around 1–1.5 cm thick; cut baguettes at an angle to create more surface area.
- Arrange the slices in one layer on a baking tray lined with baking paper.
- Leave them uncovered in the freezer for 60–90 minutes, until they feel firm.
- Move the slices to a well-lidded glass or stainless-steel container, placing strips of baking paper between each layer.
- Put a dry kitchen towel or sheet of paper on top to absorb any loose moisture.
- Close the container and keep it in the coldest, steadiest area of the freezer rather than in the door.
This brief phase of “open freezing” works as a domestic version of blast freezing. It firms the slices quickly, keeping ice crystals smaller and less damaging. After the bread is sealed in its container, much less air reaches it, which slows freezer burn without disposable plastic or aluminium.
The rigid container protects structure, the baking paper stops slices from welding together and the towel quietly absorbs condensation.
There is also a useful everyday benefit. A container of sliced bread works rather like a library: take out two pieces for breakfast alone or several for visitors, without struggling to separate a frozen block.
The mistakes that quietly ruin frozen bread
Most problems begin before bread enters the freezer. Freezing a loaf while it is still warm seals in steam, which later soaks into the crust and makes it leathery after reheating. Allowing slices to freeze in a pile produces damp spots where they bond together. Opening the container constantly for “just one slice” subjects the bread to temperature changes and extra frost.
Dating the container matters more than many people realise. After about three months, the bread’s aroma declines. There is no need for a spreadsheet; a dated piece of masking tape is enough. Store the container towards the rear or at the bottom of the freezer, where temperatures are more consistent.
How to bring back crunch: thawing and reheating
The key transformation is not achieved in the freezer. It occurs in hot, dry air, as the starch relaxes and the crust expands once more.
Oven, air fryer or microwave: which one works when
| Appliance | Best for | Temperature & time | Result |
|---|---|---|---|
| Oven | Sourdough, rye, baguette | 180–210°C, 5–12 minutes | Even heating, crisp crust, warm crumb |
| Air fryer | Small rolls, sliced bread | 180°C, 4–6 minutes | Quick and crunchy, suitable for limited space |
| Microwave | Toast bread, soft milk buns | 10–15 second bursts | Soft rather than truly crisp; use with a damp towel |
For oven reheating, leave a frozen slice on a rack at room temperature for 15–30 minutes when time allows. Put it directly onto a preheated oven rack at 180–210°C. Moisten the underside with damp fingertips or apply the faintest brush of water. That small amount becomes steam and expands the pores in the crust.
A thin layer of water plus strong heat reactivates starch and lifts the crust; too much water steams the slice limp.
For baguettes and crusty “hero” loaves, many bakers loosely wrap them in baking paper before freezing, then keep them that way inside the container. The paper protects against frost marks. Remove it before reheating so the crust can dry out and crackle.
Rolls are best frozen whole. Freeze them uncovered first, then place them in the container at slight angles so they do not flatten against one another. To bring them back to life, heat them on a rack at 200°C for 6–10 minutes. Here too, a light flick of water across the base helps improve the crust.
The microwave occupies a middle ground. Since it heats water molecules rather than air, it is better suited to soft sandwich bread that will be toasted immediately afterwards. Heat in short bursts with a damp kitchen towel laid over the bread. Leave it any longer and the crust turns rubbery.
Why foil and plastic bags fall short
For many years, plastic bags and tightly wrapped foil have been the standard choices. Both seal humidity closely around the loaf. That can reduce freezer burn, but it also prevents the crust from breathing.
Foil wraps bread in a personal sauna: perfect for soft rolls, disastrous for a crackling crust.
Held-in moisture changes the outside into a smooth, even surface. It may colour again in the oven, but it seldom cracks sharply when sliced. Plastic bags have much the same effect, alongside another drawback: microplastic waste and drawers crowded with partly used bags.
Rigid containers need more room, but they stack efficiently and can last for years. They also limit transferred smells. Onion soup, frozen fish and a fragile sourdough loaf should not share the same pocket of freezer air.
Beyond toast: smart ways to use frozen bread
Even using the most careful technique, some slices will not return in flawless condition. Slightly dry bread is still useful, and putting it to work can reduce food waste while making the grocery budget go further.
- Roast tired slices with olive oil and herbs to make croutons.
- Blitz bread into breadcrumbs and freeze them for schnitzel or veggie patties.
- Coat rough chunks in garlic and oil for speedy crostini.
- Make bread salads using dense rye or wholemeal bread, tomatoes and cucumbers.
Chefs frequently use frozen bread to produce consistent results. Ready-sliced, accurately portioned toast reduces preparation time in busy brunch venues. Home cooks can use the same approach. A container of frozen bread brings order to hectic weeks: grilled cheese for hungry teenagers, emergency bruschetta for unexpected visitors or one slice alongside soup after the loaf has run out.
The method is also well suited to home baking. Those who make large sourdough loaves can freeze half on baking day instead of watching it dry out on the worktop. A weekend pastime then becomes a useful household staple for the entire week.
In food-safety terms, bread is relatively low risk: it contains less moisture than meat or dairy and less sugar than desserts. As a result, texture and flavour deserve more attention than strict safety deadlines. Even so, months in the freezer gradually remove aroma. Smaller, more frequent batches are preferable to collecting forgotten crusts and ends.







Comments
No comments yet. Be the first to comment!
Leave a Comment