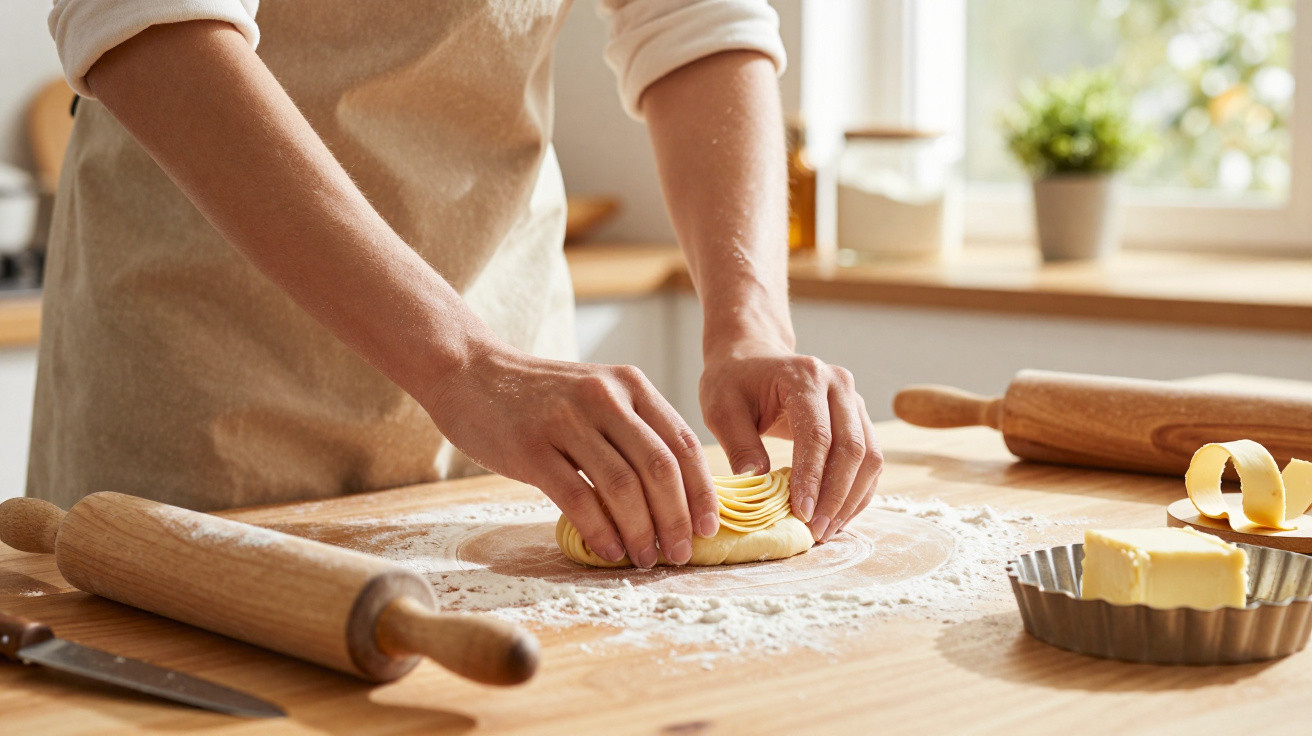
The first time I saw a pastry chef roll pie dough in a cramped Brooklyn kitchen, I watched his hands more closely than the flour-covered worktop. The radio murmured, the oven blasted heat and tickets were mounting up, but his actions remained unhurried and strangely composed. He did not rush or overwork the pastry. Every so often, he stopped, lightly pressed his fingertips into it, then carefully stacked and turned it, as though folding a thin blanket. There was no fuss and no specialist equipment. Just a restrained, almost traditional routine.
At home, most of us reach for a bowl, rub or cut in butter, add a splash of water and hope it works out.
He was using a different approach - one we rarely discuss.
The subtle layering technique for a genuinely flaky pie crust
Ask home bakers what is most important in pie crust and they will mention chilled butter, resting the dough or perhaps choosing the correct flour. Those things help, but they overlook the step pastry chefs use when they want real layers. Rather than simply mixing the dough and rolling it once, they laminate it gently. It is nowhere near as intensive as puff pastry, yet it is enough to form fine, delicate layers of fat and flour that lift and separate in the oven.
From the outside, it seems unremarkable: fold, turn, fold again. But this small, overlooked method marks the difference between an acceptable crust and the crisp, shattering flake of bakery-quality pastry.
Imagine that you have done everything “right”. The butter is cold, you have followed the recipe and the dough has been chilled. Your pie emerges golden, but the base is slightly tough and the edges are more crumbly than crisp. It tastes good, certainly, but lacks the light, layered crackle of a professional slice.
Take the very same dough and, rather than rolling it once and stopping, roll it into a rough rectangle, fold it as you would a letter, turn it, then roll it again. Repeat this quickly two or three times. There is no need for a performance or a lengthy process - only gentle stacking. In the oven, the same ingredients suddenly act differently. The crust rises, the flakes pull apart and you can nearly hear the crackle.
The explanation is straightforward physics with a little kitchen magic. These brief folds enclose slim sheets of butter between layers of dough. As the pastry heats, the water in the butter becomes steam and forces the layers apart. The flour then sets around the expanding steam, creating genuine structure rather than a heavy, compact crumb. Without some lamination, pie crust is essentially one solid piece of dough with occasional pockets of fat. With it, even in this easy, home-kitchen form, you create a miniature puff-pastry effect - enough to make each mouthful feel improbably light.
How to make “lazy lamination” for pie crust at home
The appeal of this method is that it does not require you to alter your recipe. Keep your usual flour, butter and water formula; simply change what happens once the dough has only just come together. Mix until pieces of butter are still visible, with some roughly the size of peas or even small beans. Tip the shaggy mixture on to a floured worktop. Using your hands rather than a rolling pin, gently press it into an approximate rectangle. Then roll in one direction, working from the centre outwards, until you have a longer rectangle.
Next, fold it like a business letter: bring the top third down and the bottom third up. Turn the dough through 90 degrees and brush away any surplus flour. Roll it out again. That counts as one “turn”.
Repeat this two or three times, always moving quickly enough to keep the butter cold and in flat pieces. The edges may crack slightly, which is perfectly fine. You are not kneading bread; you are building layers. Use a light touch and keep your expectations practical. This is not full croissant-style lamination, but an easy-going version suited to a busy weeknight.
We have all experienced the moment when dinner is already running late and the dough feels sticky and unmanageable. This approach can actually ease that anxiety, because you are not trying to achieve perfection in the bowl. Let the dough look untidy at first, then bring it into order on the worktop, one fold at a time.
Pastry chefs often repeat one point almost as a mantra: stop just before you think you need to. Too much handling destroys flakiness. Rolling and folding only help while you can still see and feel the streaks of butter. The dough should look marbled, not smooth.
“People are obsessed with recipes,” a French-trained pastry chef in Los Angeles told me, laughing. “But with pie crust, it’s the touch and the folding. The recipe is just a starting point. The layers are where the magic happens.”
- Use cold butter cut into chunks, and avoid blending it too finely.
- Stop mixing in the bowl as soon as the dough only just holds together.
- Roll into a rectangle, fold like a letter, turn, then repeat 2–3 times.
- Refrigerate the folded dough for at least 30 minutes before the final rolling.
- Roll from the centre outwards, lifting and turning the dough rather than forcing it.
Why this “forgotten” pie crust step transforms your baking
Once you notice the difference, it is difficult to return to the old method. The crust keeps its shape more effectively, browns more evenly and feels lighter to eat. Fruit pies leak less because the bottom layer is sturdier without becoming thick or weighty. Savoury pies taste as though they are wrapped in a delicate pastry jacket rather than a dense biscuit. It is a modest ritual that makes the whole process feel more purposeful.
Honestly, nobody is likely to do this every day. After work on a Tuesday, you will not laminate dough for a frozen-berry pie. At weekends, though, or when you want one dessert to make an impression, this technique quietly deserves a place in your routine.
| Key point | Detail | Value for the reader |
|---|---|---|
| Gentle lamination | Two to three folds and turns after the dough comes together | Creates visible flaky layers without complex pastry skills |
| Shaggy, not smooth dough | Stop mixing early and finish organising on the worktop | Reduces toughness and keeps butter in flat, flaky pieces |
| Cold, quick handling | Work fast, chill between steps, avoid over-rolling | Preserves structure and boosts lift in the oven |








Comments
No comments yet. Be the first to comment!
Leave a Comment