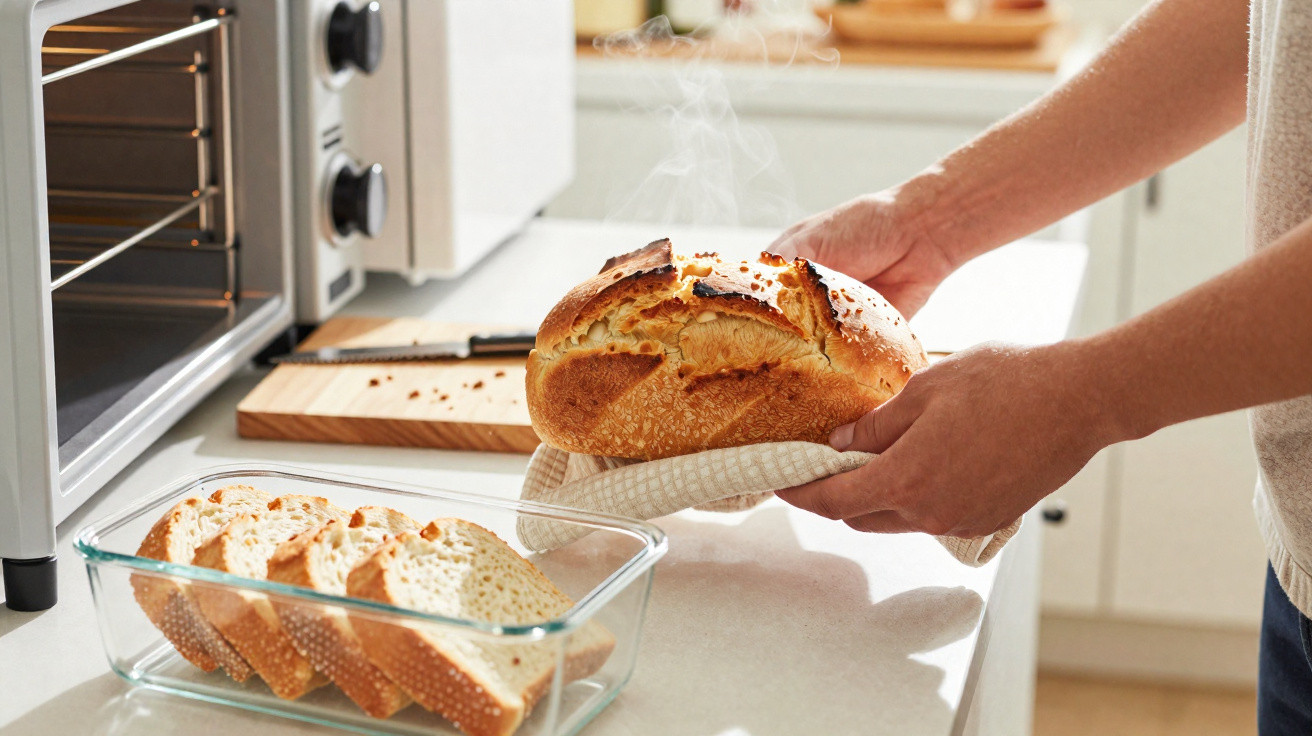
If you love bread, you will know the problem: straight from the bakery, it is wonderful; a day later, it turns dry; and after the freezer, it often emerges soft and bland. Yet bread can be stored for surprisingly long periods without losing its bite or aroma, provided you follow a few less familiar rules and, above all, use the right storage materials.
Why bread from the freezer is often disappointing
Bread is a delicate food. Both the crust and the crumb react quickly to air, cold and moisture. As a result, many households repeatedly make the same mistakes when freezing bread.
- Storing bread uncovered in the freezer
- Putting it into thin plastic bags without a seal
- Wrapping it completely in aluminium foil
- Freezing loaves while they are still warm or giving off steam
- Keeping it for far too long without adding a date
All of these habits produce the same outcome: the moisture within the bread is distributed incorrectly. The crust turns soft, the crumb dries out and, in the worst case, freezer burn develops.
“Bread stays crisp in the freezer only when air and moisture are controlled – not when it is ‘suffocated’ airtight.”
No bag, no foil: the better bread protective layer
A standard supermarket plastic bag or thick aluminium foil may seem convenient, but both create a small moisture chamber around the bread. During freezing and defrosting, condensation forms, moves into the crust and leaves it soft.
The ideal packaging for everyday bread
For baguettes, bread rolls or sliced bread, a combination that is rarely used at home but has long been standard in bakeries works particularly well:
- A sturdy freezer bag with a zip seal or made from very dense material
- As little air in the bag as possible
- Optionally, a thin, dry sheet of baking parchment placed between bread slices
The zip bag stops the bread from being continually exposed to fresh air and moisture in the freezer. At the same time, there is still sufficient space to prevent moisture from building up entirely on the surface.
Timing matters too: bread must be fully cooled before it goes into the bag. Otherwise, steam still trapped in the warm bread will condense inside and result in a disappointingly limp texture after defrosting.
Extra protection for loaves with a thick crust
Rustic country loaves, sourdough loaves and breads with especially crisp crusts are particularly sensitive. In these cases, a two-stage method is helpful:
- Wrap the loaf or portions in baking parchment first.
- Then place them inside a tightly sealing freezer bag.
The baking parchment absorbs excess surface moisture without drying the bread out. This keeps the crust structure stable, even when the bread has spent several weeks frozen.
“Baking parchment acts like a buffer: it protects the crust from dampness, while the freezer bag protects it from drying cold.”
Portioning bread properly to avoid waste
Freezing whole loaves often means defrosting more than you can eat later. A little forward planning is the better approach:
- Cut a baguette into 2–3 manageable sections.
- Group sliced bread into meal-sized portions of 2–4 slices each.
- Pack bread rolls individually, or at most in pairs.
Give every portion a small label stating the type of bread and the date. As a general rule, eat it within around three months for noticeably better flavour.
| Type of bread | Recommended freezer storage time | Note |
|---|---|---|
| Baguette | up to 2 months | Freeze whole or in 2–3 sections |
| Sliced bread | 2–3 months | Use small portions that can be removed separately |
| Country loaf / sourdough | up to 3 months | Use baking parchment plus a freezer bag |
| Bread rolls | 1–2 months | Ideal for reheating quickly |
Defrosting without frustration: keeping bread moist inside and crisp outside
Half the success comes down to the right defrosting technique. Excessive heat damages the crumb, while too much moisture ruins the crust.
Gentle defrosting at room temperature
If you have time, place bread or bread rolls on a wire rack at room temperature. Do not use a plate and do not cover them with a tea towel. This allows excess moisture to escape rather than collect underneath.
Half a baguette will usually need 30–45 minutes, while a larger loaf may take up to 2 hours. The bread may still look slightly pale afterwards, but the oven will restore its crispness.
The oven method for a perfect crust
The oven provides the finishing touch. The method is straightforward:
- Preheat the oven to approximately 180–200 °C.
- Lightly moisten the bread – ideally just the underside, or briefly run damp hands over it.
- Put it directly on the wire rack, not on a baking tray.
- Bake for 5–12 minutes, depending on its size.
In the oven, the moisture turns into steam. The crust expands slightly and becomes crisp, without allowing the inside to dry out.
“A short burst in the oven with a little moisture is enough to bring frozen bread sensorially almost back to the day it was baked.”
Air fryer and microwave: how useful are the quick methods?
Air fryer for small portions
An air fryer works surprisingly well for one or two bread rolls, a few baguette slices or toast. It functions much like a compact fan oven, only more quickly.
A practical everyday setting is:
- Temperature: approximately 150–160 °C
- Time: 3–6 minutes, depending on size
- Lightly moisten the bread before placing it in the basket
If you do not overfill the air fryer or position the bread directly against the heating element, you can achieve a very respectable crust within minutes – perfect for an impromptu breakfast of bread rolls.
The microwave as an emergency option
The microwave has a poor reputation for bread, and not without reason. It heats the water inside very rapidly, leaving the crust soft and the bread potentially rubbery.
Even so, it can help when time is short, such as when children need breakfast immediately or unexpected guests arrive at the door. One trick can limit the worst effects:
- Put the frozen slices on a plate.
- Loosely cover them with a lightly dampened piece of kitchen paper.
- Heat briefly in 10–15-second intervals.
The damp paper absorbs some of the heat and stops the slices from drying out completely. However, this method cannot produce real crispness – for that, you need an oven or an air fryer.
Common pitfalls: how to ruin bread in seconds
Even with good preparation, a few small habits can undermine the result:
- Putting frozen bread straight into a very hot oven – too hard on the outside, still cold within
- Returning bread to plastic bags while it is warm – condensation makes it soft
- Reheating it for too long “just to be safe” – the crumb becomes crumbly
- Storing bread in the fridge – this speeds up staling
Avoid these traps and you will soon notice that the difference between “acceptable” and “almost fresh” often comes down to only two or three simple steps.
What happens inside bread: a brief practical explanation
During baking, the starch in the dough gelatinises and water is distributed between the crumb and crust. Once the bread cools, the starch gradually starts to crystallise again, making the bread dry. Cold accelerates this process, while freezing virtually stops it.
As bread defrosts, some moisture returns to the crumb. If too much water reaches the surface, the crust softens. That is why combining a brief addition of moisture with hot air works so well: moisture moves outward, partly evaporates, and the surface becomes stable and crisp again.
Everyday scenarios: planning your bread supply
If you shop once or twice a week, a simple routine can save considerable effort. For example:
- On shopping day: divide fresh bread into daily portions, allow it to cool, pack it and freeze it.
- In the evening: considering putting the next morning’s portion in the fridge? It is better to leave it frozen and reheat it in the morning.
- At the weekend: slice a larger country loaf on Friday, freeze one half and eat the rest fresh.
This gives you plenty of flexibility without having to keep visiting the bakery. At the same time, it reduces the amount of bread that eventually ends up hard in the bread bin.
For families, a small “bread plan” is worthwhile: whoever gets up early can take out everyone’s portion in good time and give it a quick boost in the oven or air fryer for breakfast. Those living alone should consistently freeze very small quantities, avoiding piles of stale bread.











Comments
No comments yet. Be the first to comment!
Leave a Comment