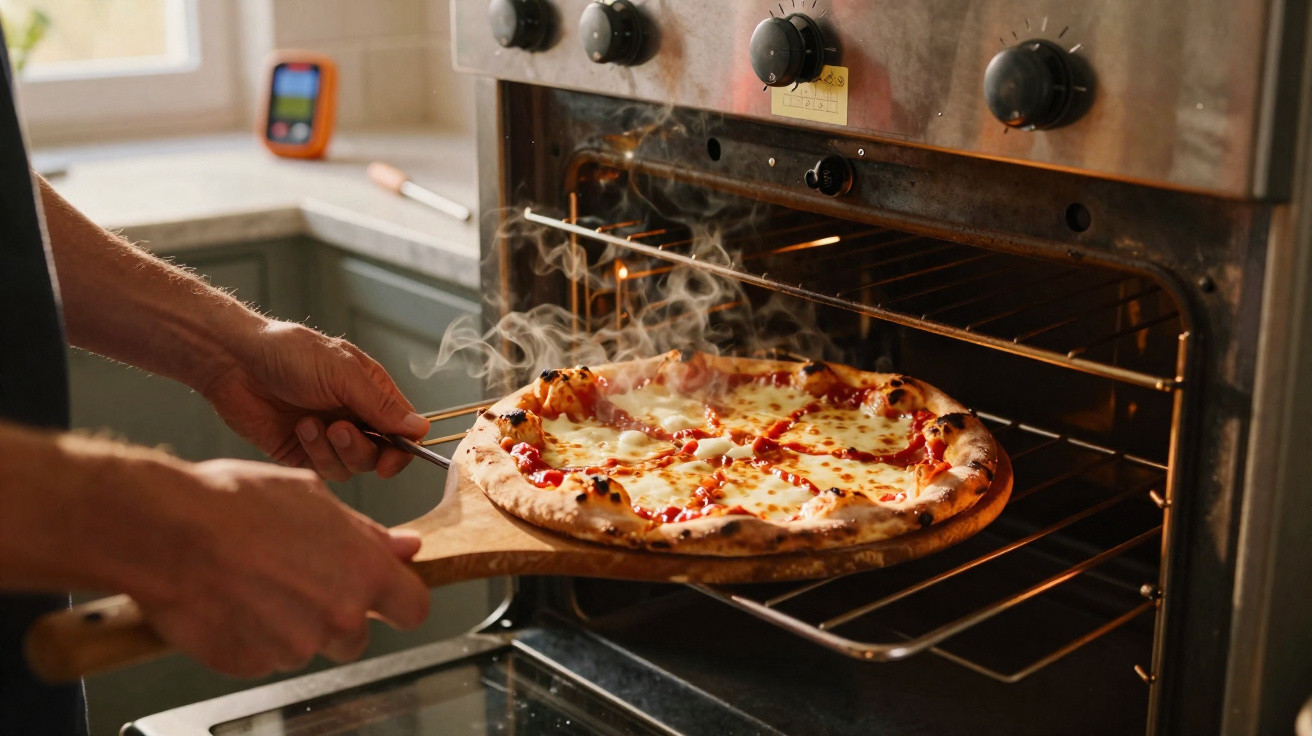
Last Tuesday evening, I watched my neighbour Sarah take another disappointing pizza out of her oven. The cheese was mottled with unappealing brown spots, yet the crust was still stubbornly pale and chewy. We have all experienced it: standing in the kitchen and looking at what should have been a golden, bubbling masterpiece, only to find something resembling a failed science experiment. She had followed the recipe precisely, chosen good-quality ingredients and even treated herself to fancy mozzarella from the Italian deli nearby. The oven temperature was correct and the timing appeared spot-on, but one essential part of the formula was absent. The devil, as they say, lives in the details.
The Science Behind Perfect Pizza Positioning
Your oven is far more than a hot box: it is a complicated system of heat zones that many home cooks never fully learn to use. The gap between pizza perfection and pizza disappointment can be only a few degrees and a few centimetres. Temperature gradients form unseen layers inside the oven, with each one behaving differently and serving a distinct role.
Professional pizza makers understand something that most of us do not: commercial ovens can reach temperatures high enough to make your smoke alarm panic. Those attractive Neapolitan pizzas served in restaurants are exposed to flames at 900°F or above. The good news is that you can create impressively similar results at home if you understand how heat travels through a conventional oven and place your pizza as thoughtfully as a chess player arranges their pieces.
The key moment comes when radiant heat from the lower heating element combines with the moving air that warms the cheese. Position the pizza too high and the cheese will burn before the base turns crisp. Put it too low and you will be left with a soggy bottom that no amount of Parmesan can rescue. The ideal position lies in the middle of those extremes, where the physics starts working for you.
The Golden Rules That Actually Work
Set the oven to exactly 245°C (475°F) and place the rack in the lower third - not at the base and not in the centre, but in the purposeful zone roughly 15–20 cm above the lower element. This position gives the base direct radiant heat while leaving sufficient room above it for air to circulate properly. Preheat for at least 30 minutes, with a pizza stone or heavy baking tray already in the oven.
Many people hurry this stage and put their pizza into an oven before its heat has properly settled. Honestly, when hunger hits, no one wants to wait another fifteen minutes. Yet that patience pays off when you bite into a crust that crunches rather than folds like cardboard. The thermal mass of the heated stone is your hidden advantage, supplying the powerful heat underneath that turns dough into something special.
“The best pizza comes from understanding that your oven is like a musical instrument – you need to learn its quirks and temperament before you can make beautiful music together,” says Marco Benedetti, head pizza chef at Milano’s renowned Pizzeria del Corso.
- Use a pizza stone or an inverted heavy baking tray every time.
- Preheat for a minimum of 30 minutes at the chosen temperature.
- Set the rack 15–20 cm above the lower heating element.
- Do not open the oven door during the first 8 minutes.
Finding Your Oven’s Sweet Spot
Each oven has its own peculiar habits, rather like a friend who is always ten minutes late or a colleague who speaks too loudly in meetings. Some ovens run hot, while others seem determined to undercook anything placed inside. The 245°C (475°F) guideline suits most standard household ovens, but yours may work better at 230°C (450°F) or even 260°C (500°F) - and that is completely fine. What matters is noticing what your own oven tells you through trial, error and tasty results.
| Key point | Detail | Value for the reader |
|---|---|---|
| Temperature precision | 475°F with 30-minute preheat | Removes guesswork and delivers reliable results |
| Rack positioning | Lower third, 6-8 inches from bottom | Balances a crisp base with browning on top |
| Equipment strategy | Preheated pizza stone or heavy pan | Produces professional-standard heat transfer at home |








Comments
No comments yet. Be the first to comment!
Leave a Comment